
The kiln is open…
The Process
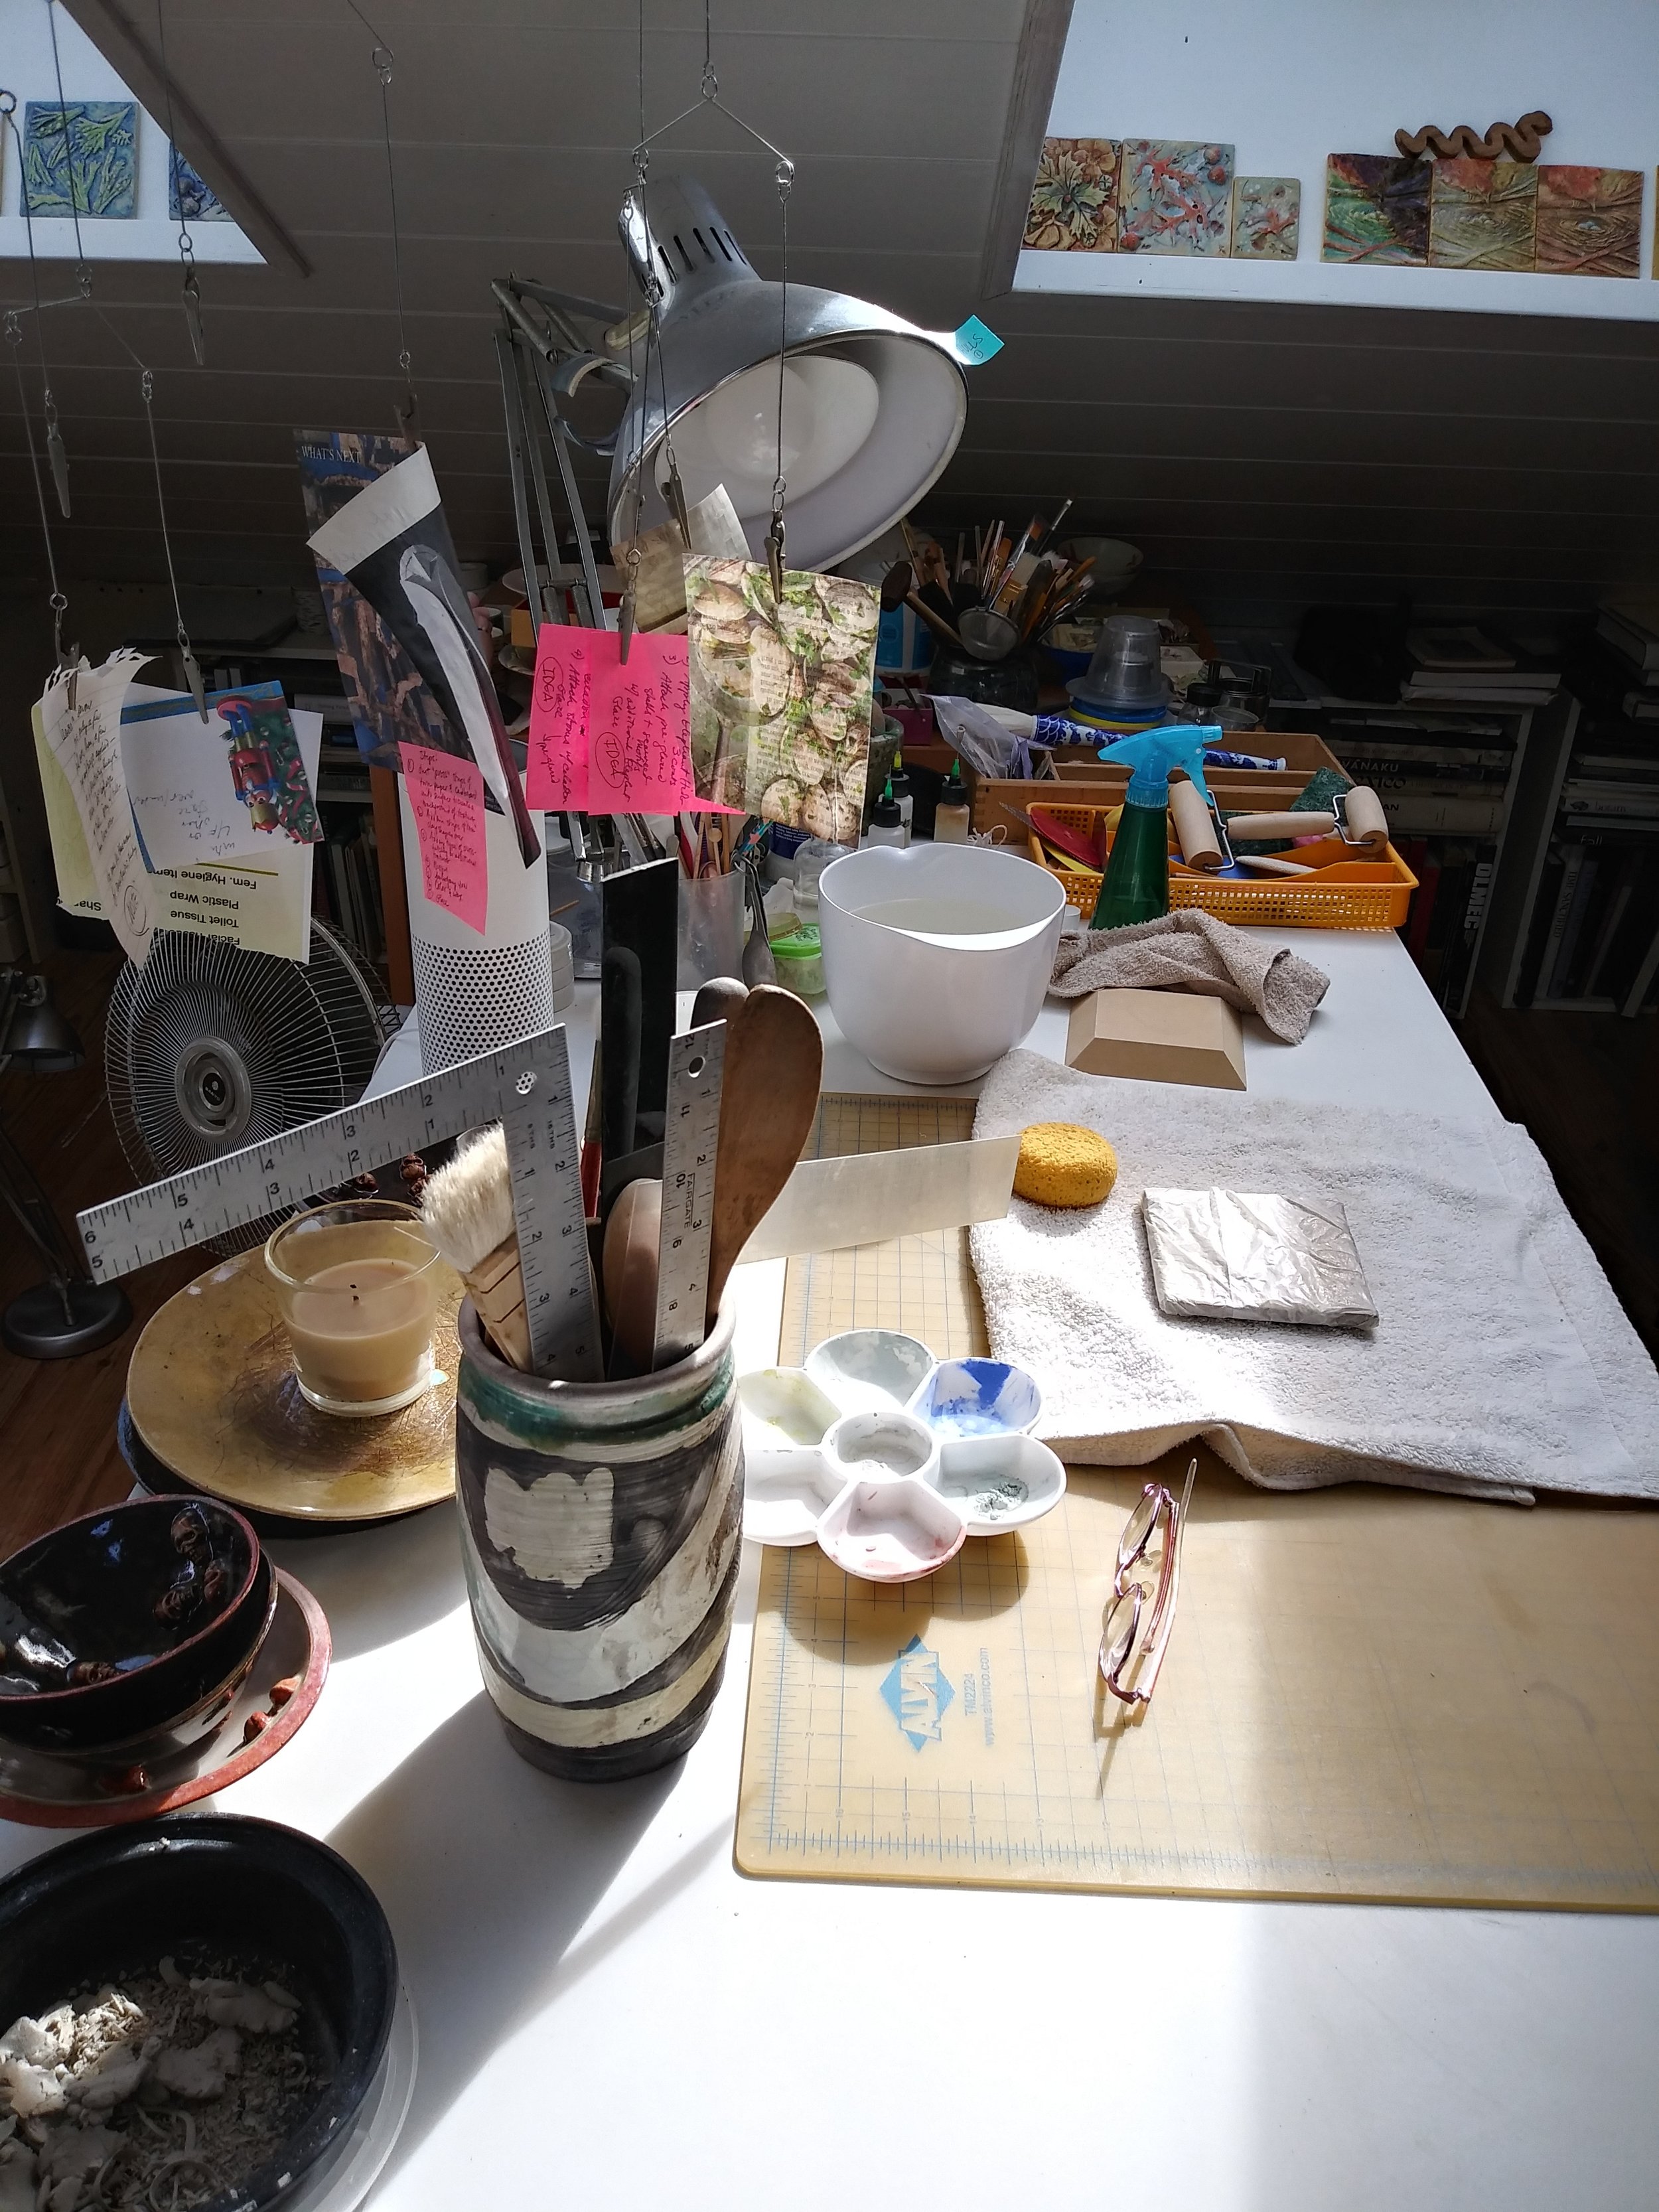
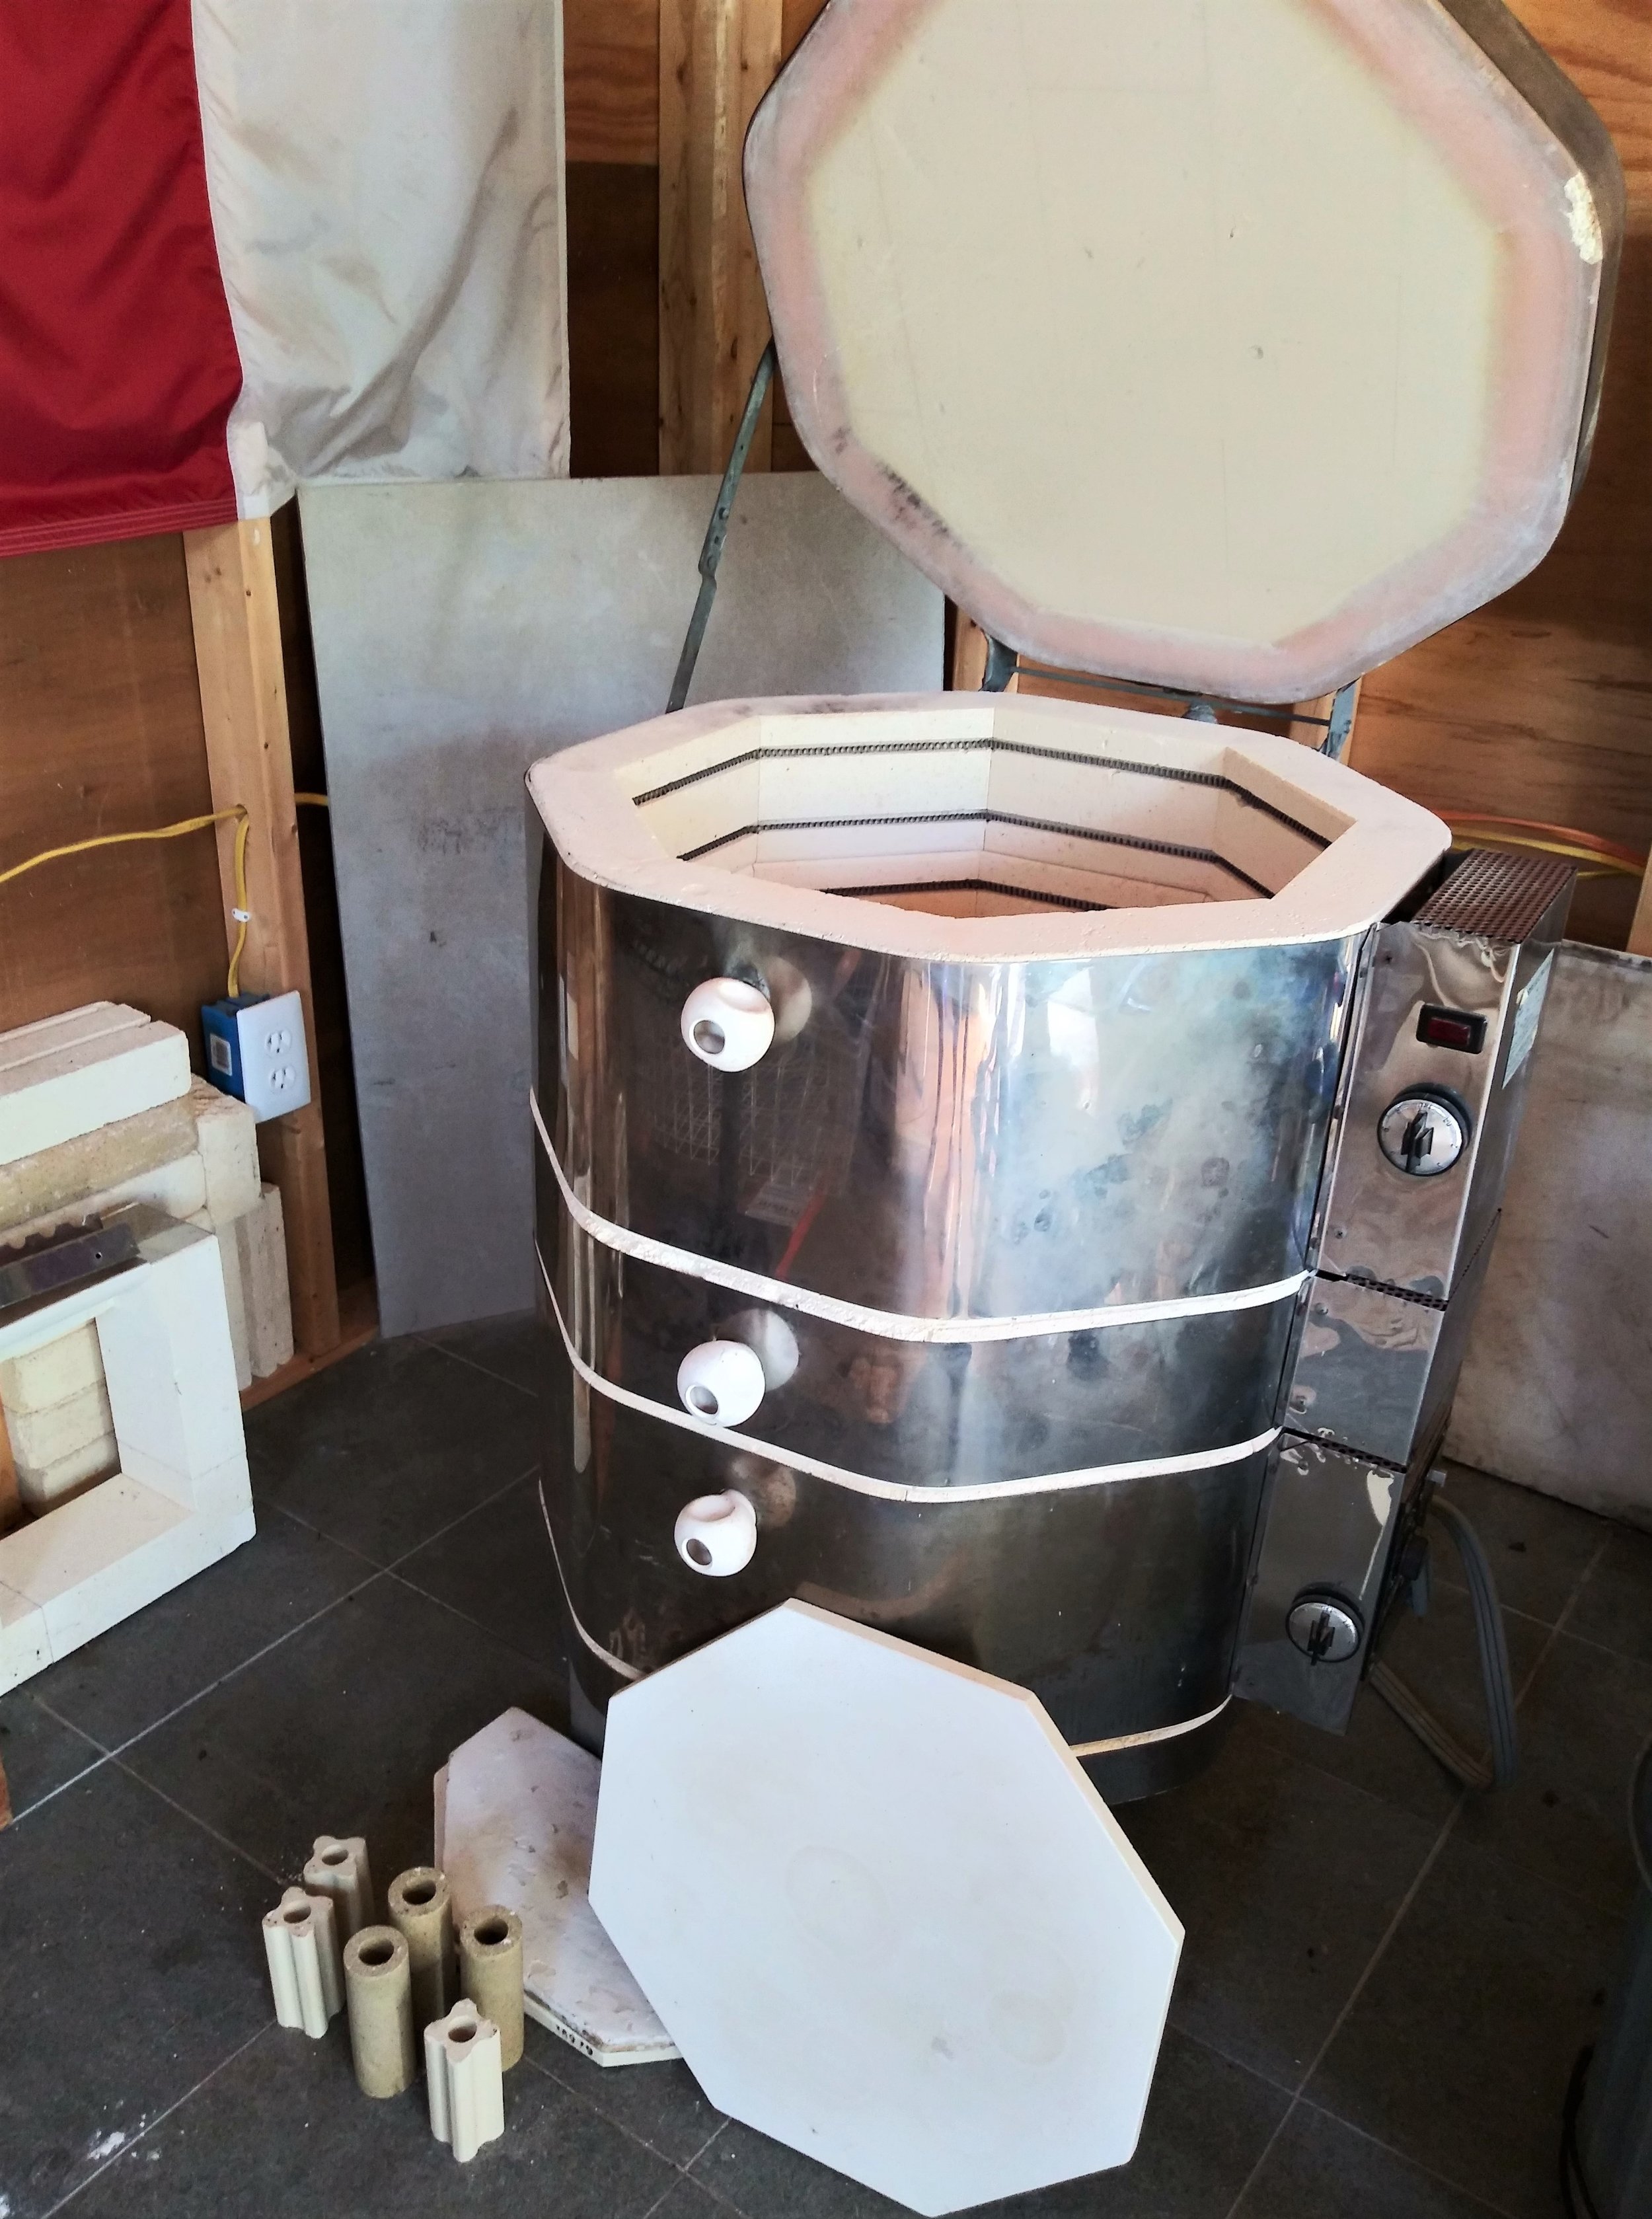
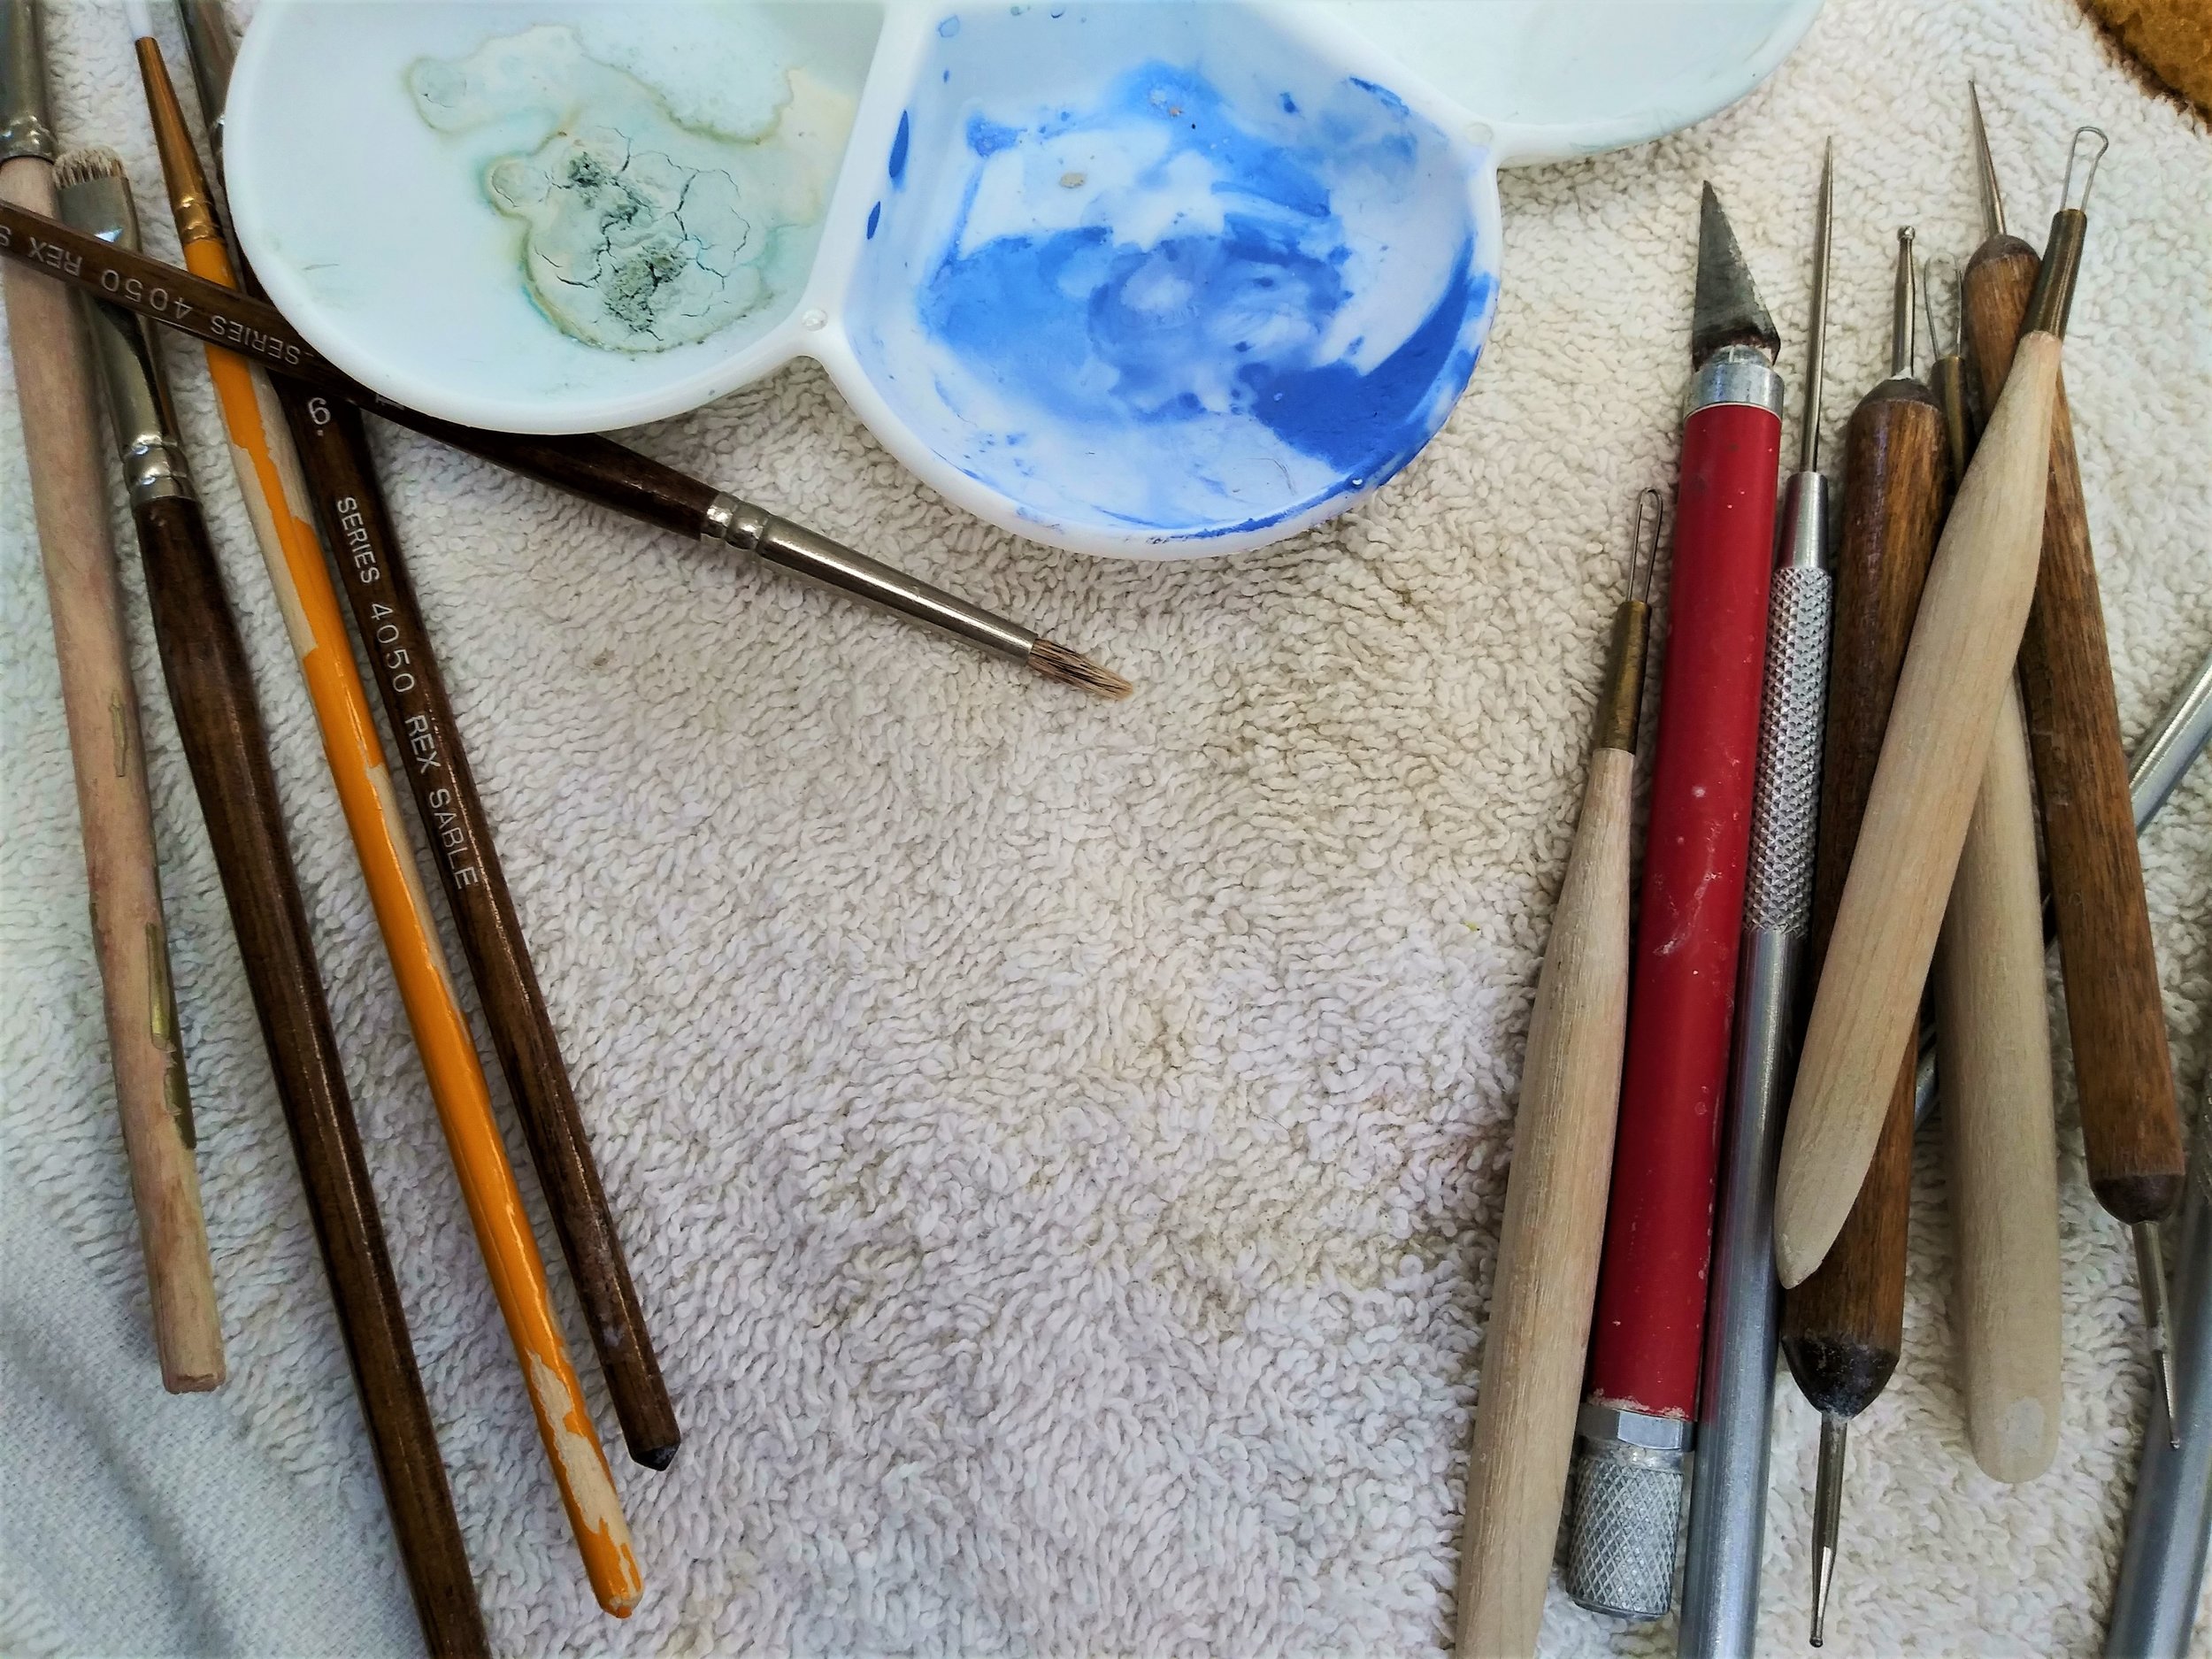
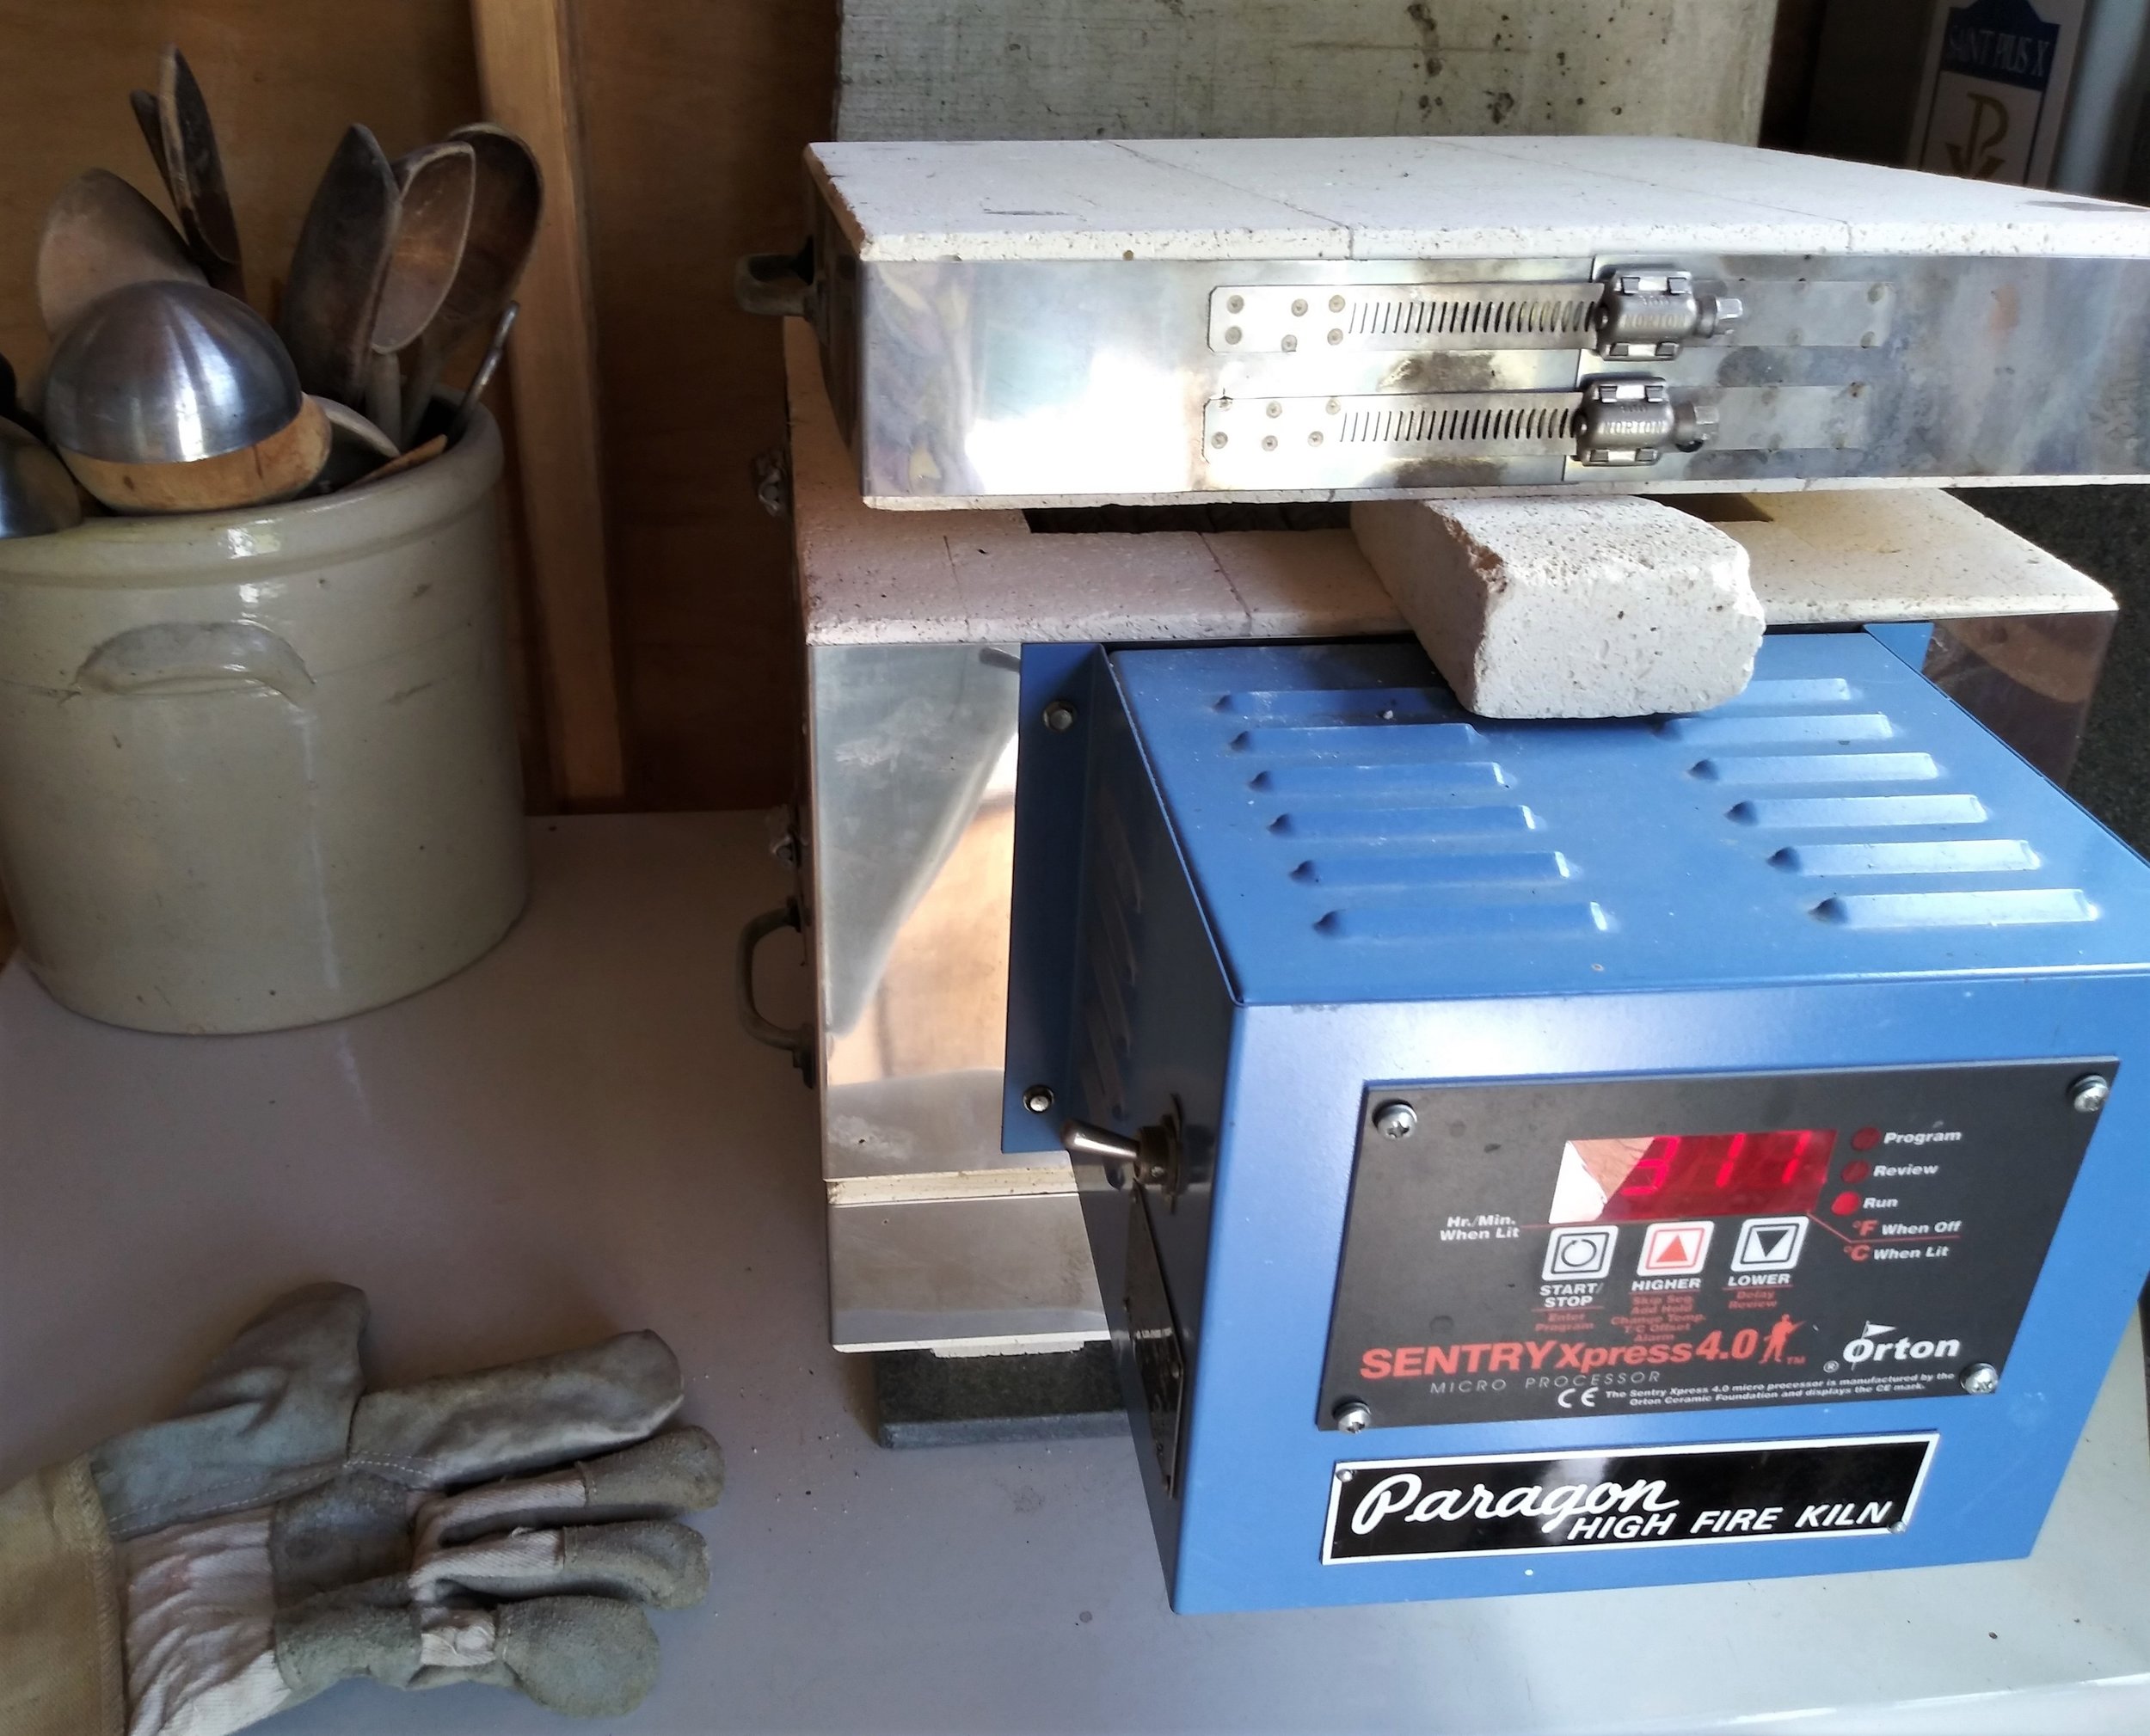
Take a glimpse into the transitional stages from beginning to finished work. Peek into my studio and at the two kilns (a small test kiln and another for larger firings). These glorified electric “ovens” produce the heat necessary to transform raw clay into something durable, useful, colorful and beautiful. My tools are humble. My work surfaces are often cluttered. Scraps of paper with handwritten notes or pictures hang over my desk, reminding me of the next piece to make, or series to explore, or glaze combination to try.
I’ll be updating this array of photos from time to time. Enjoy the show—and, the process!
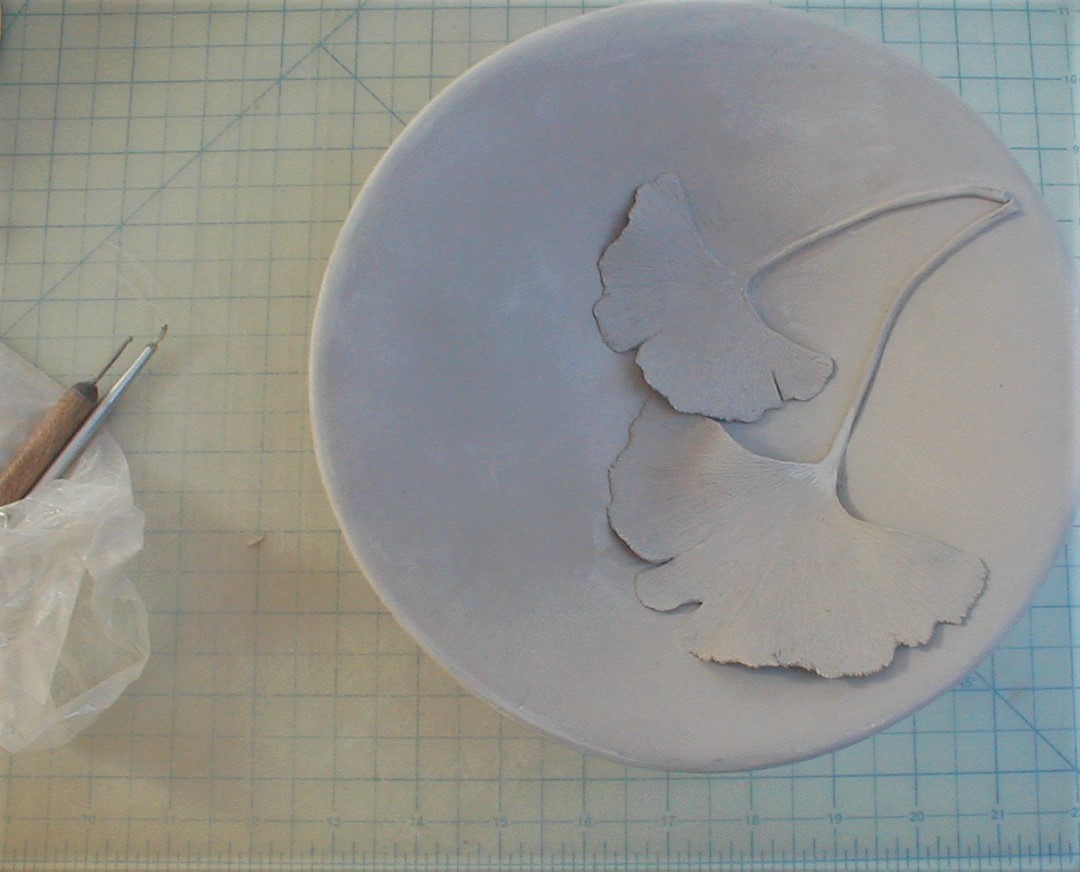
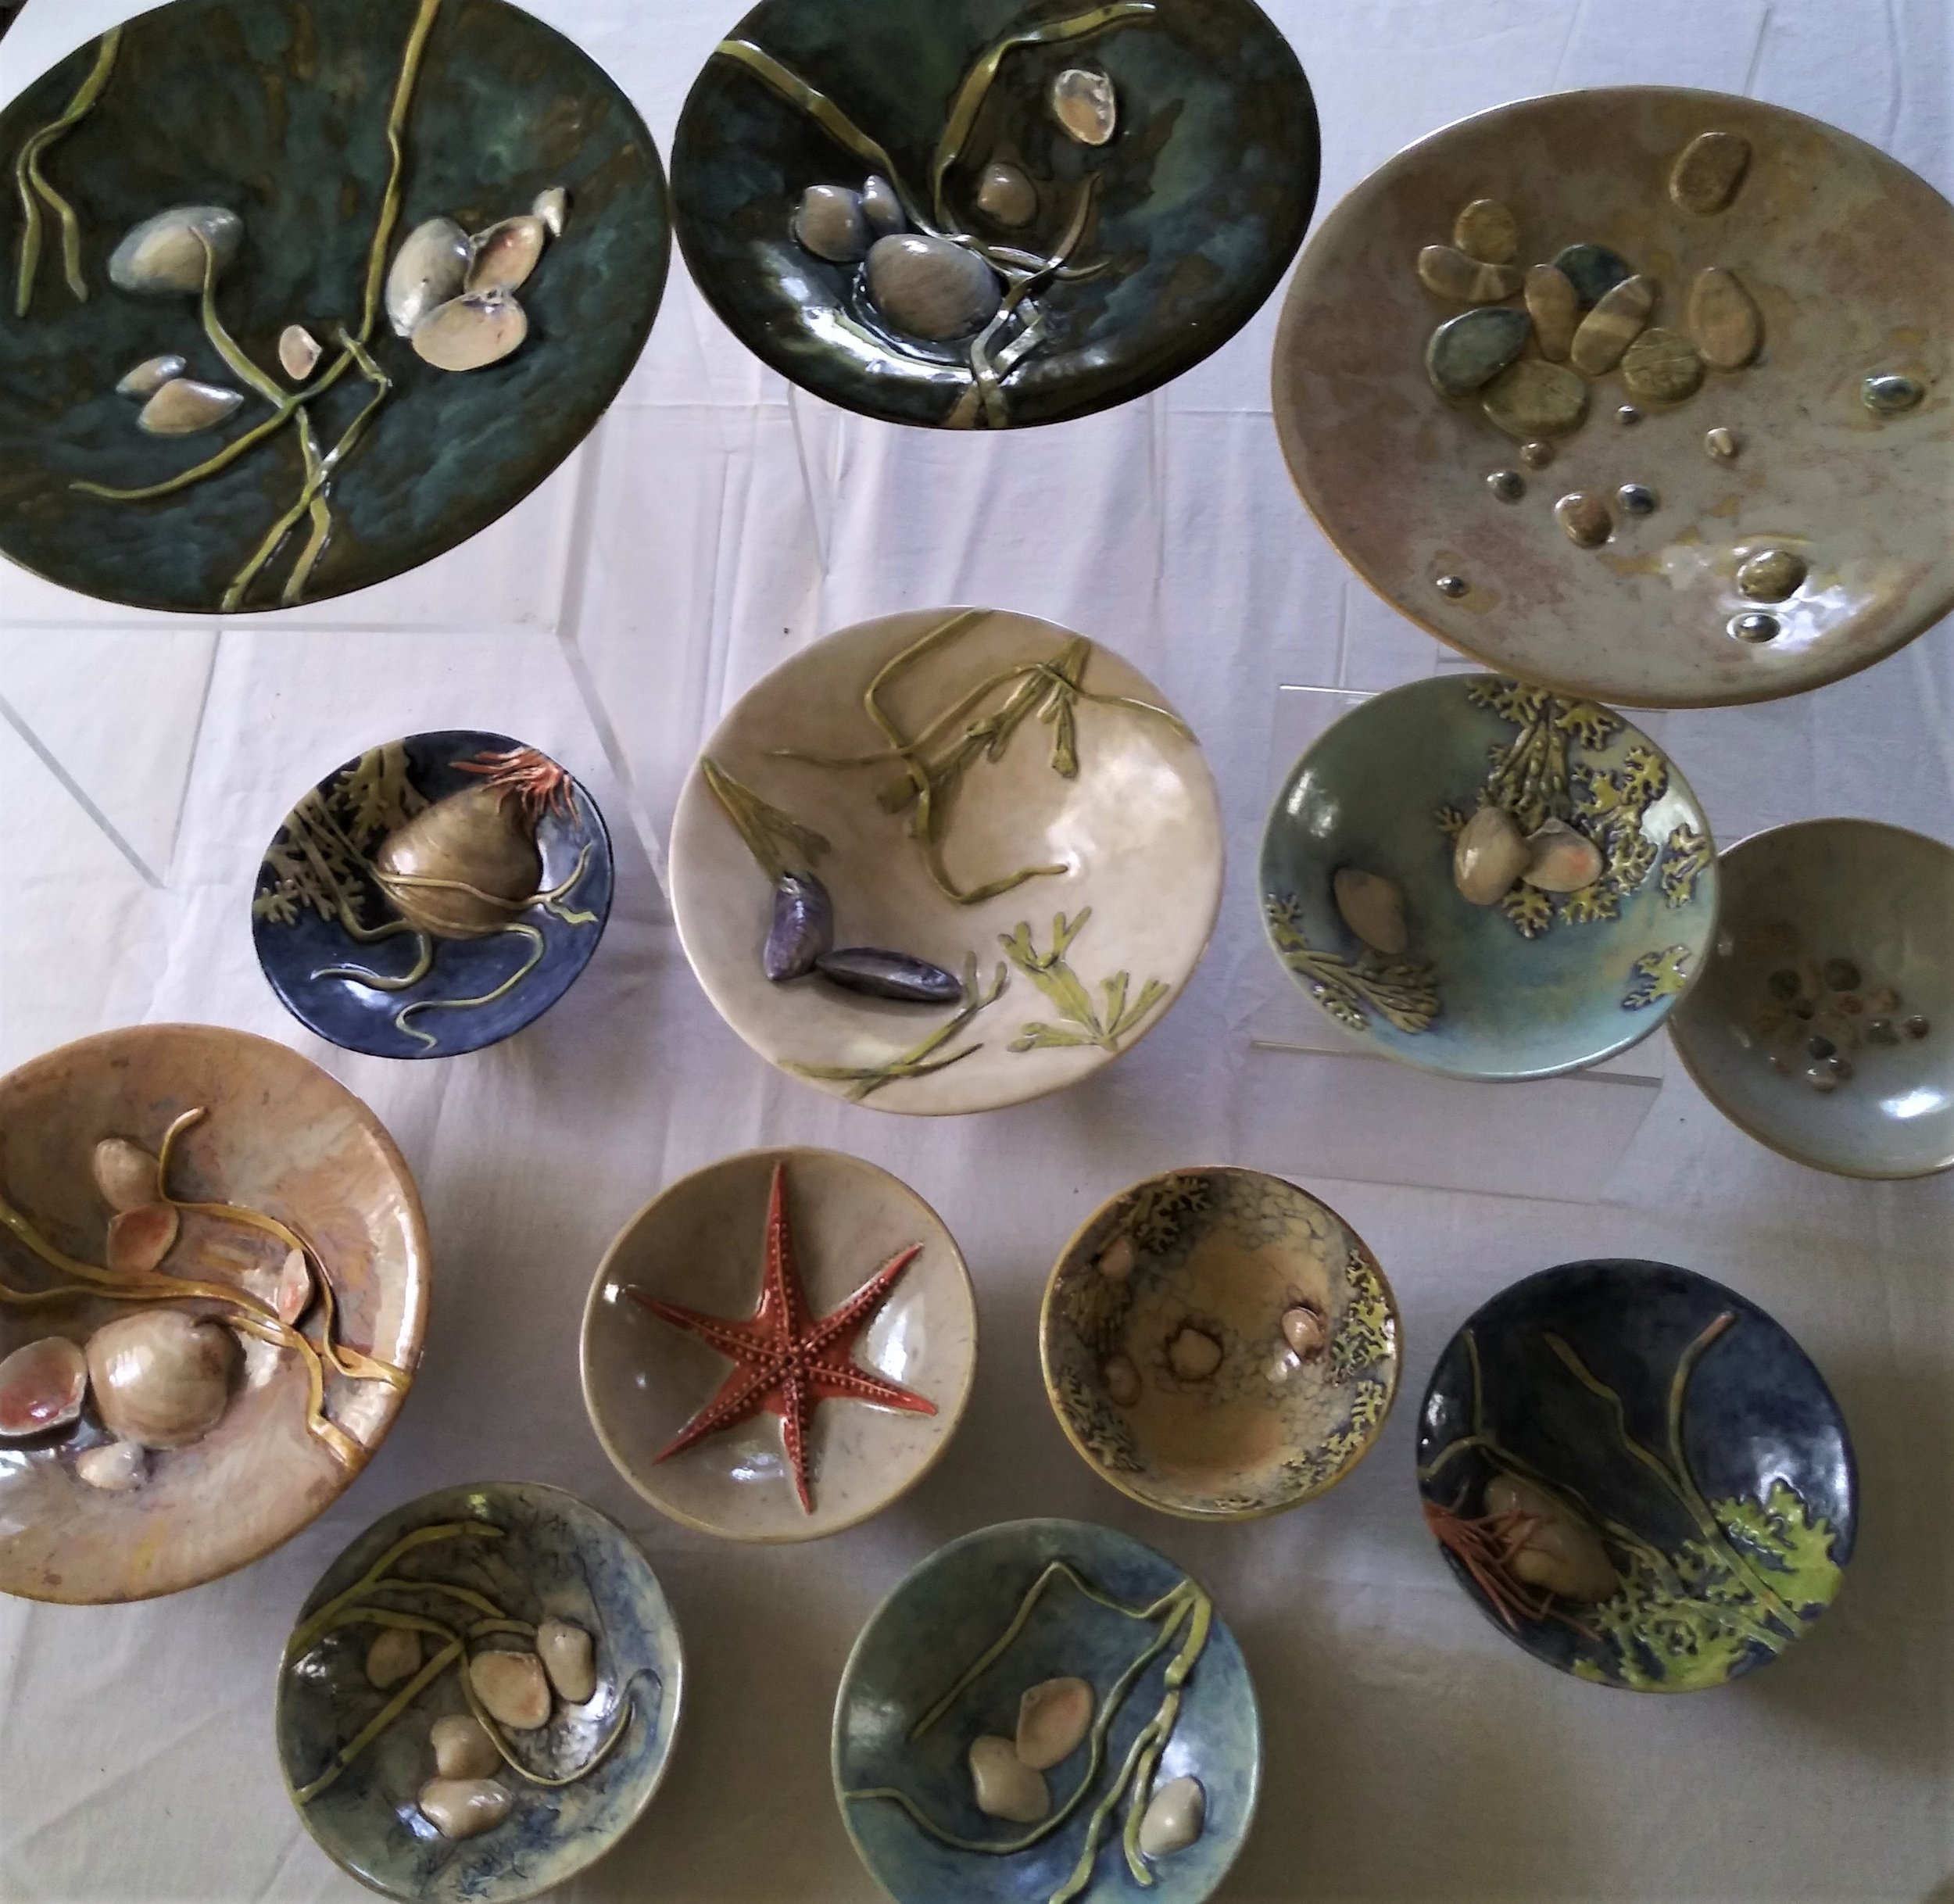
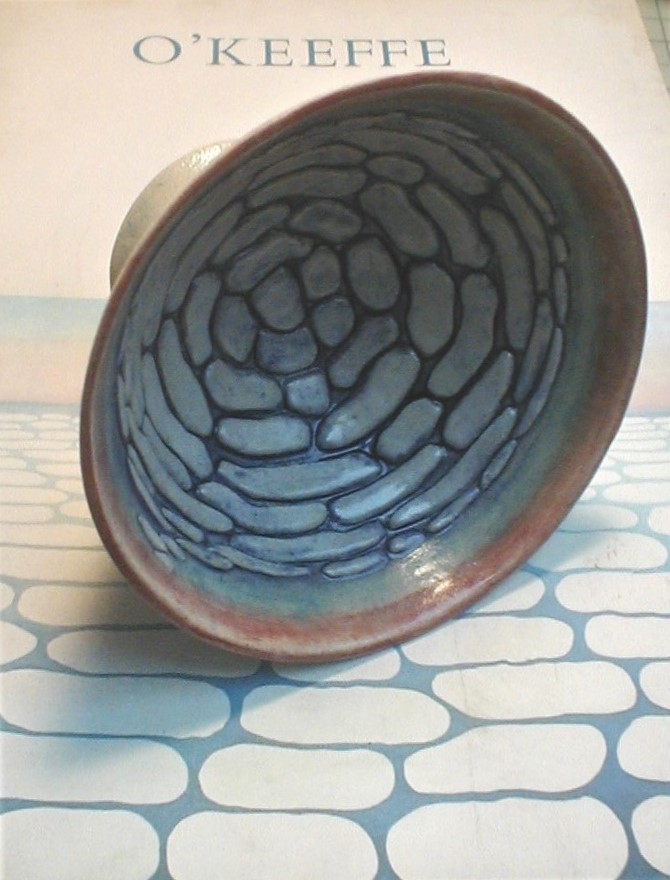
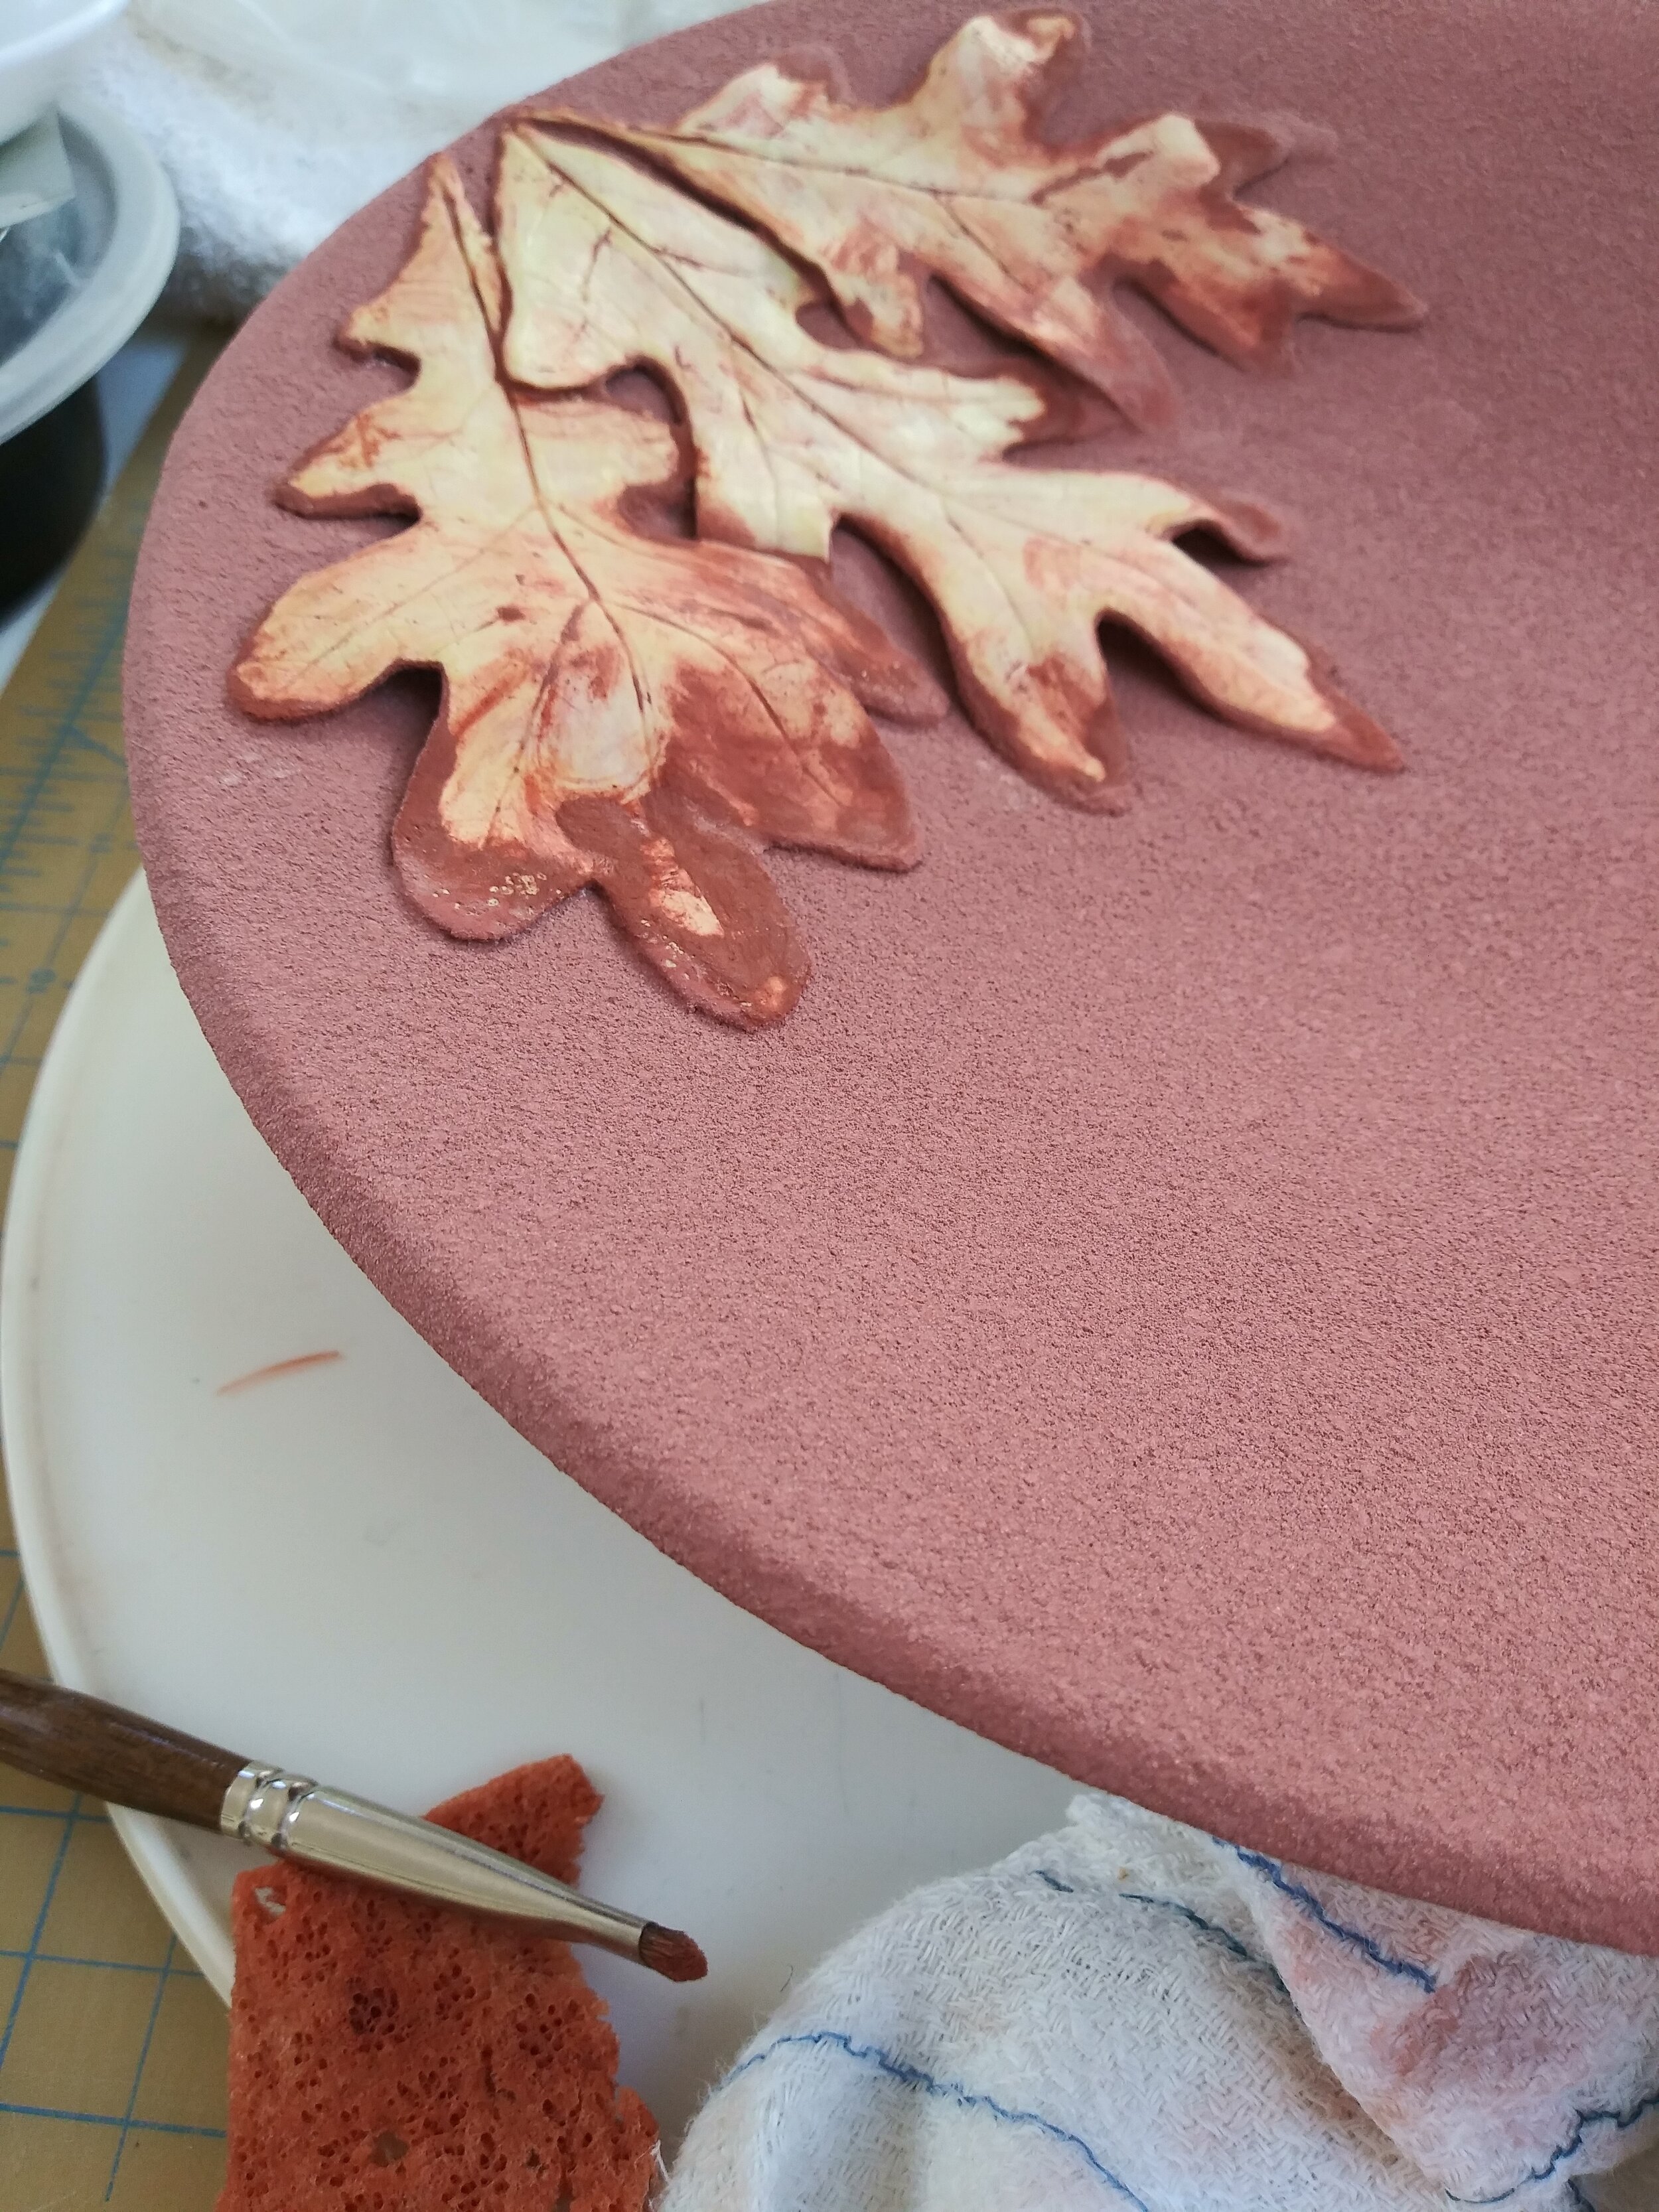
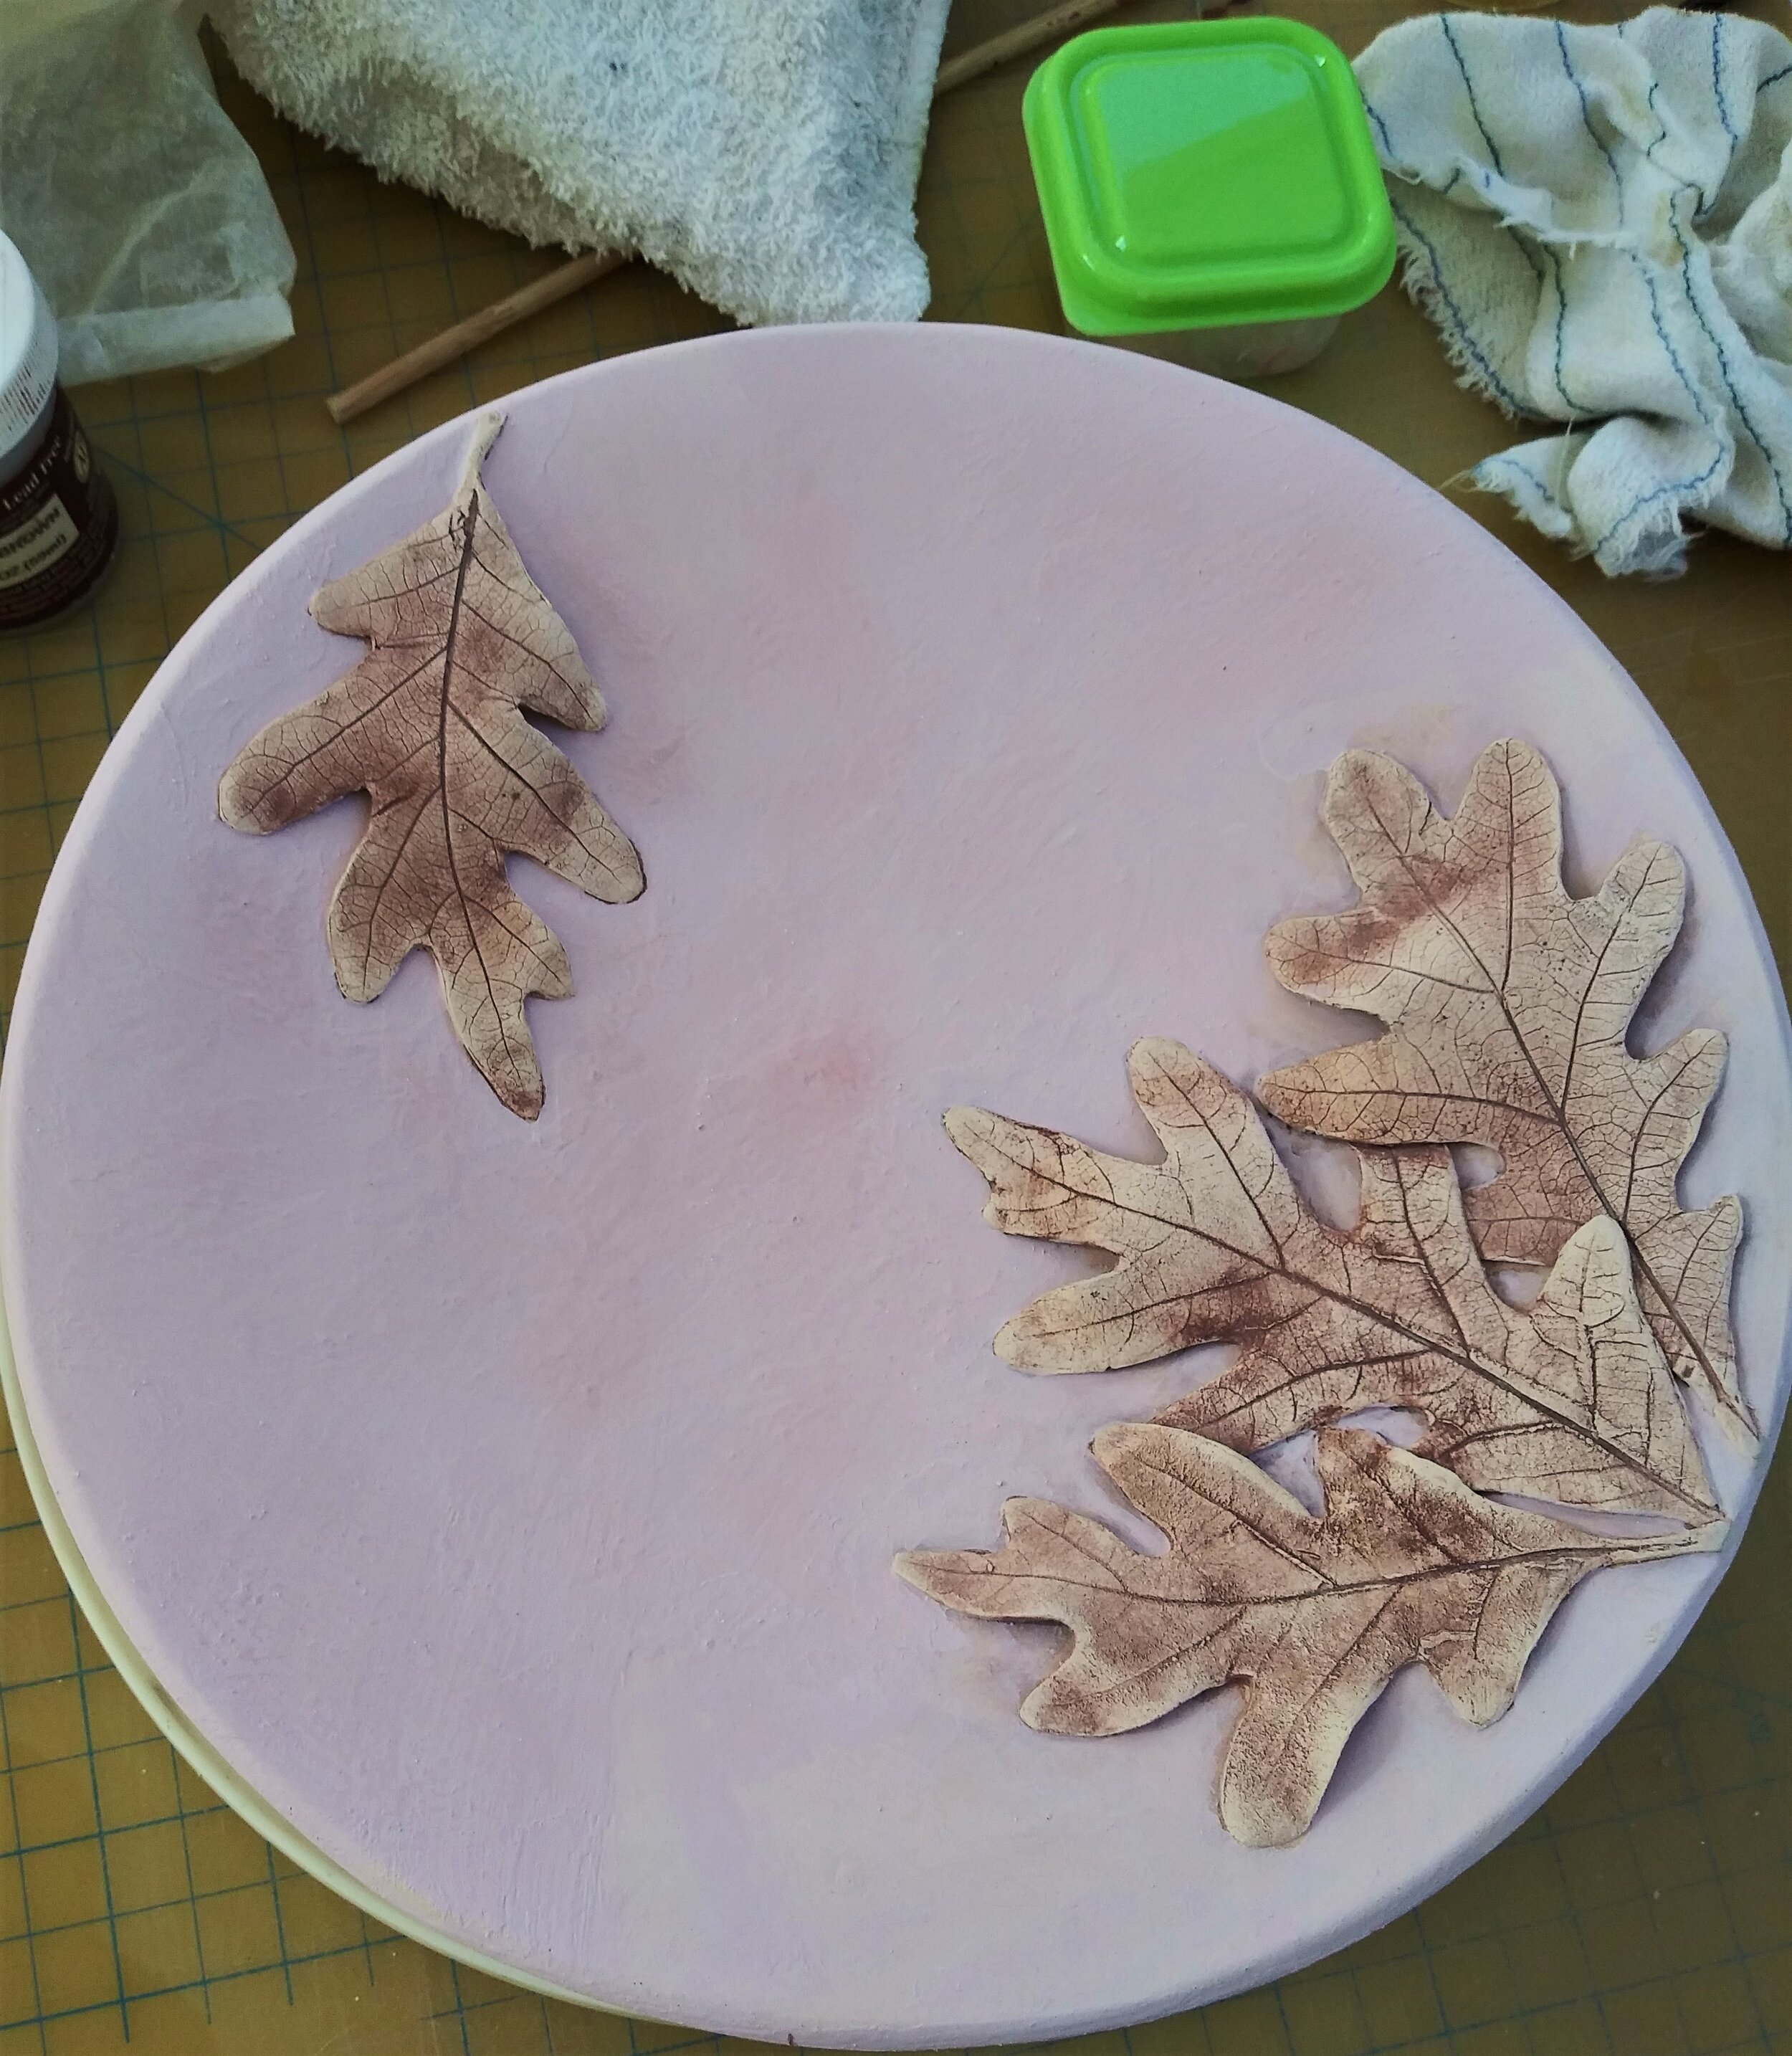
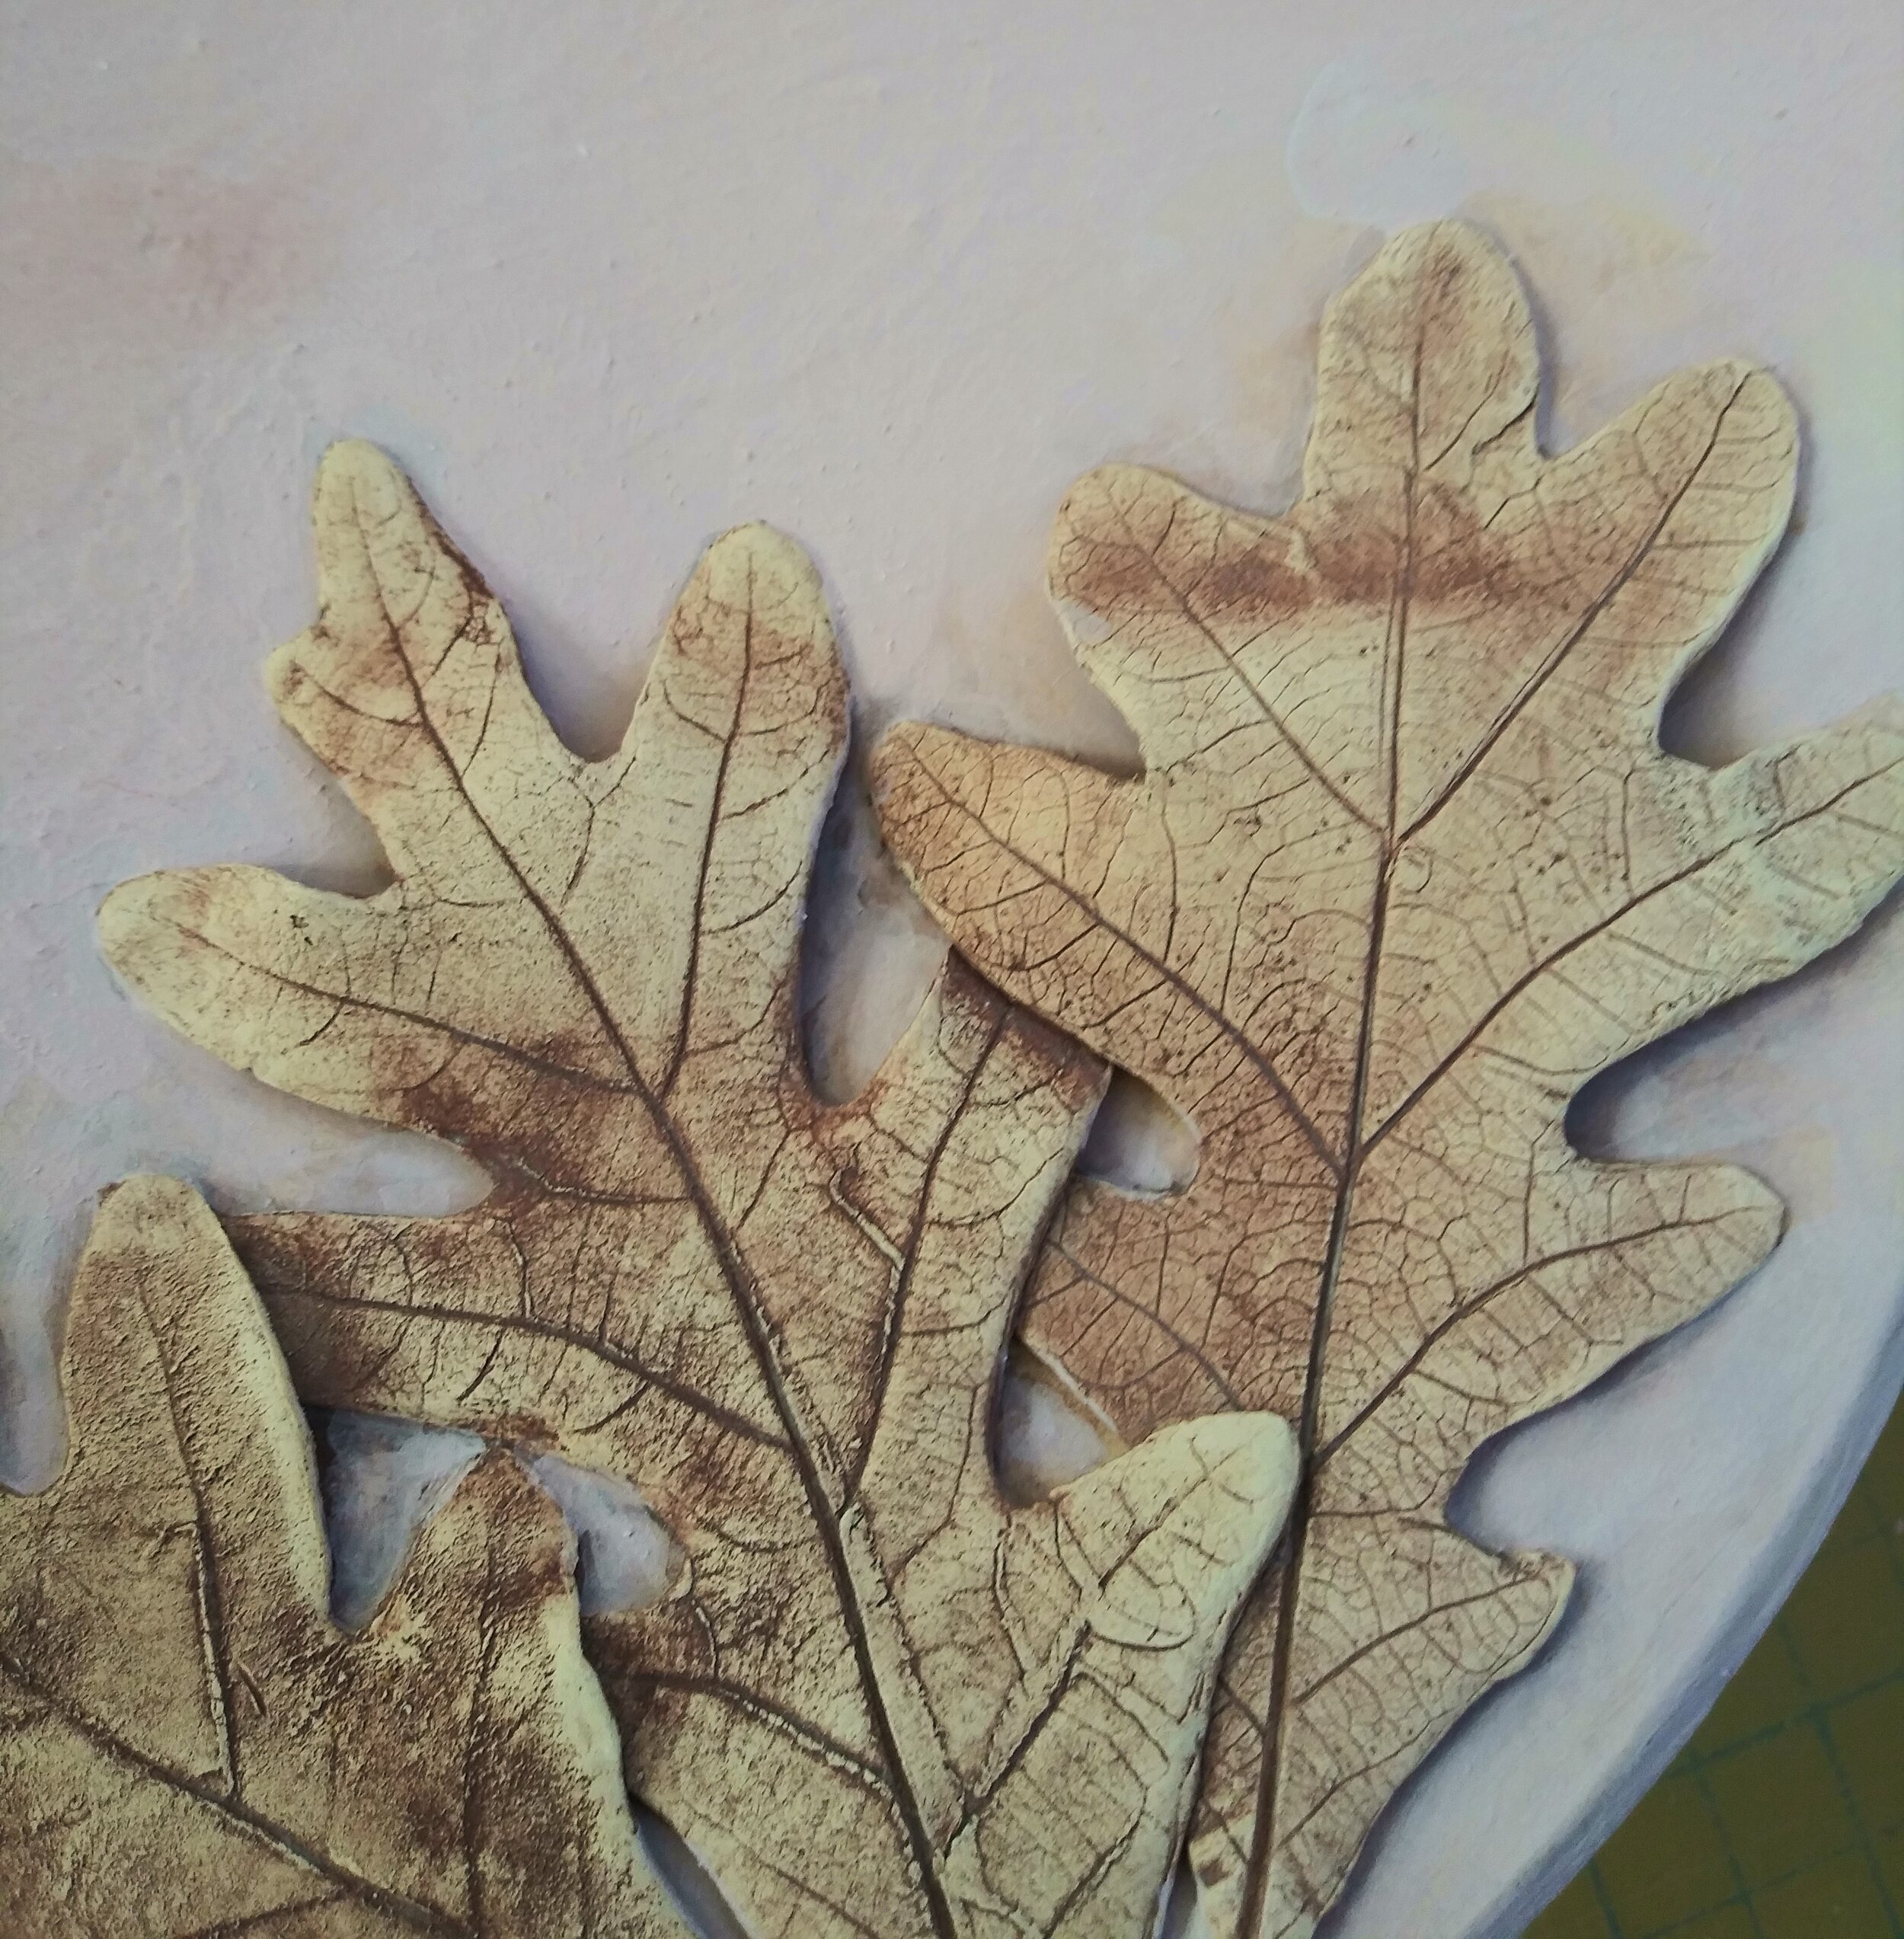
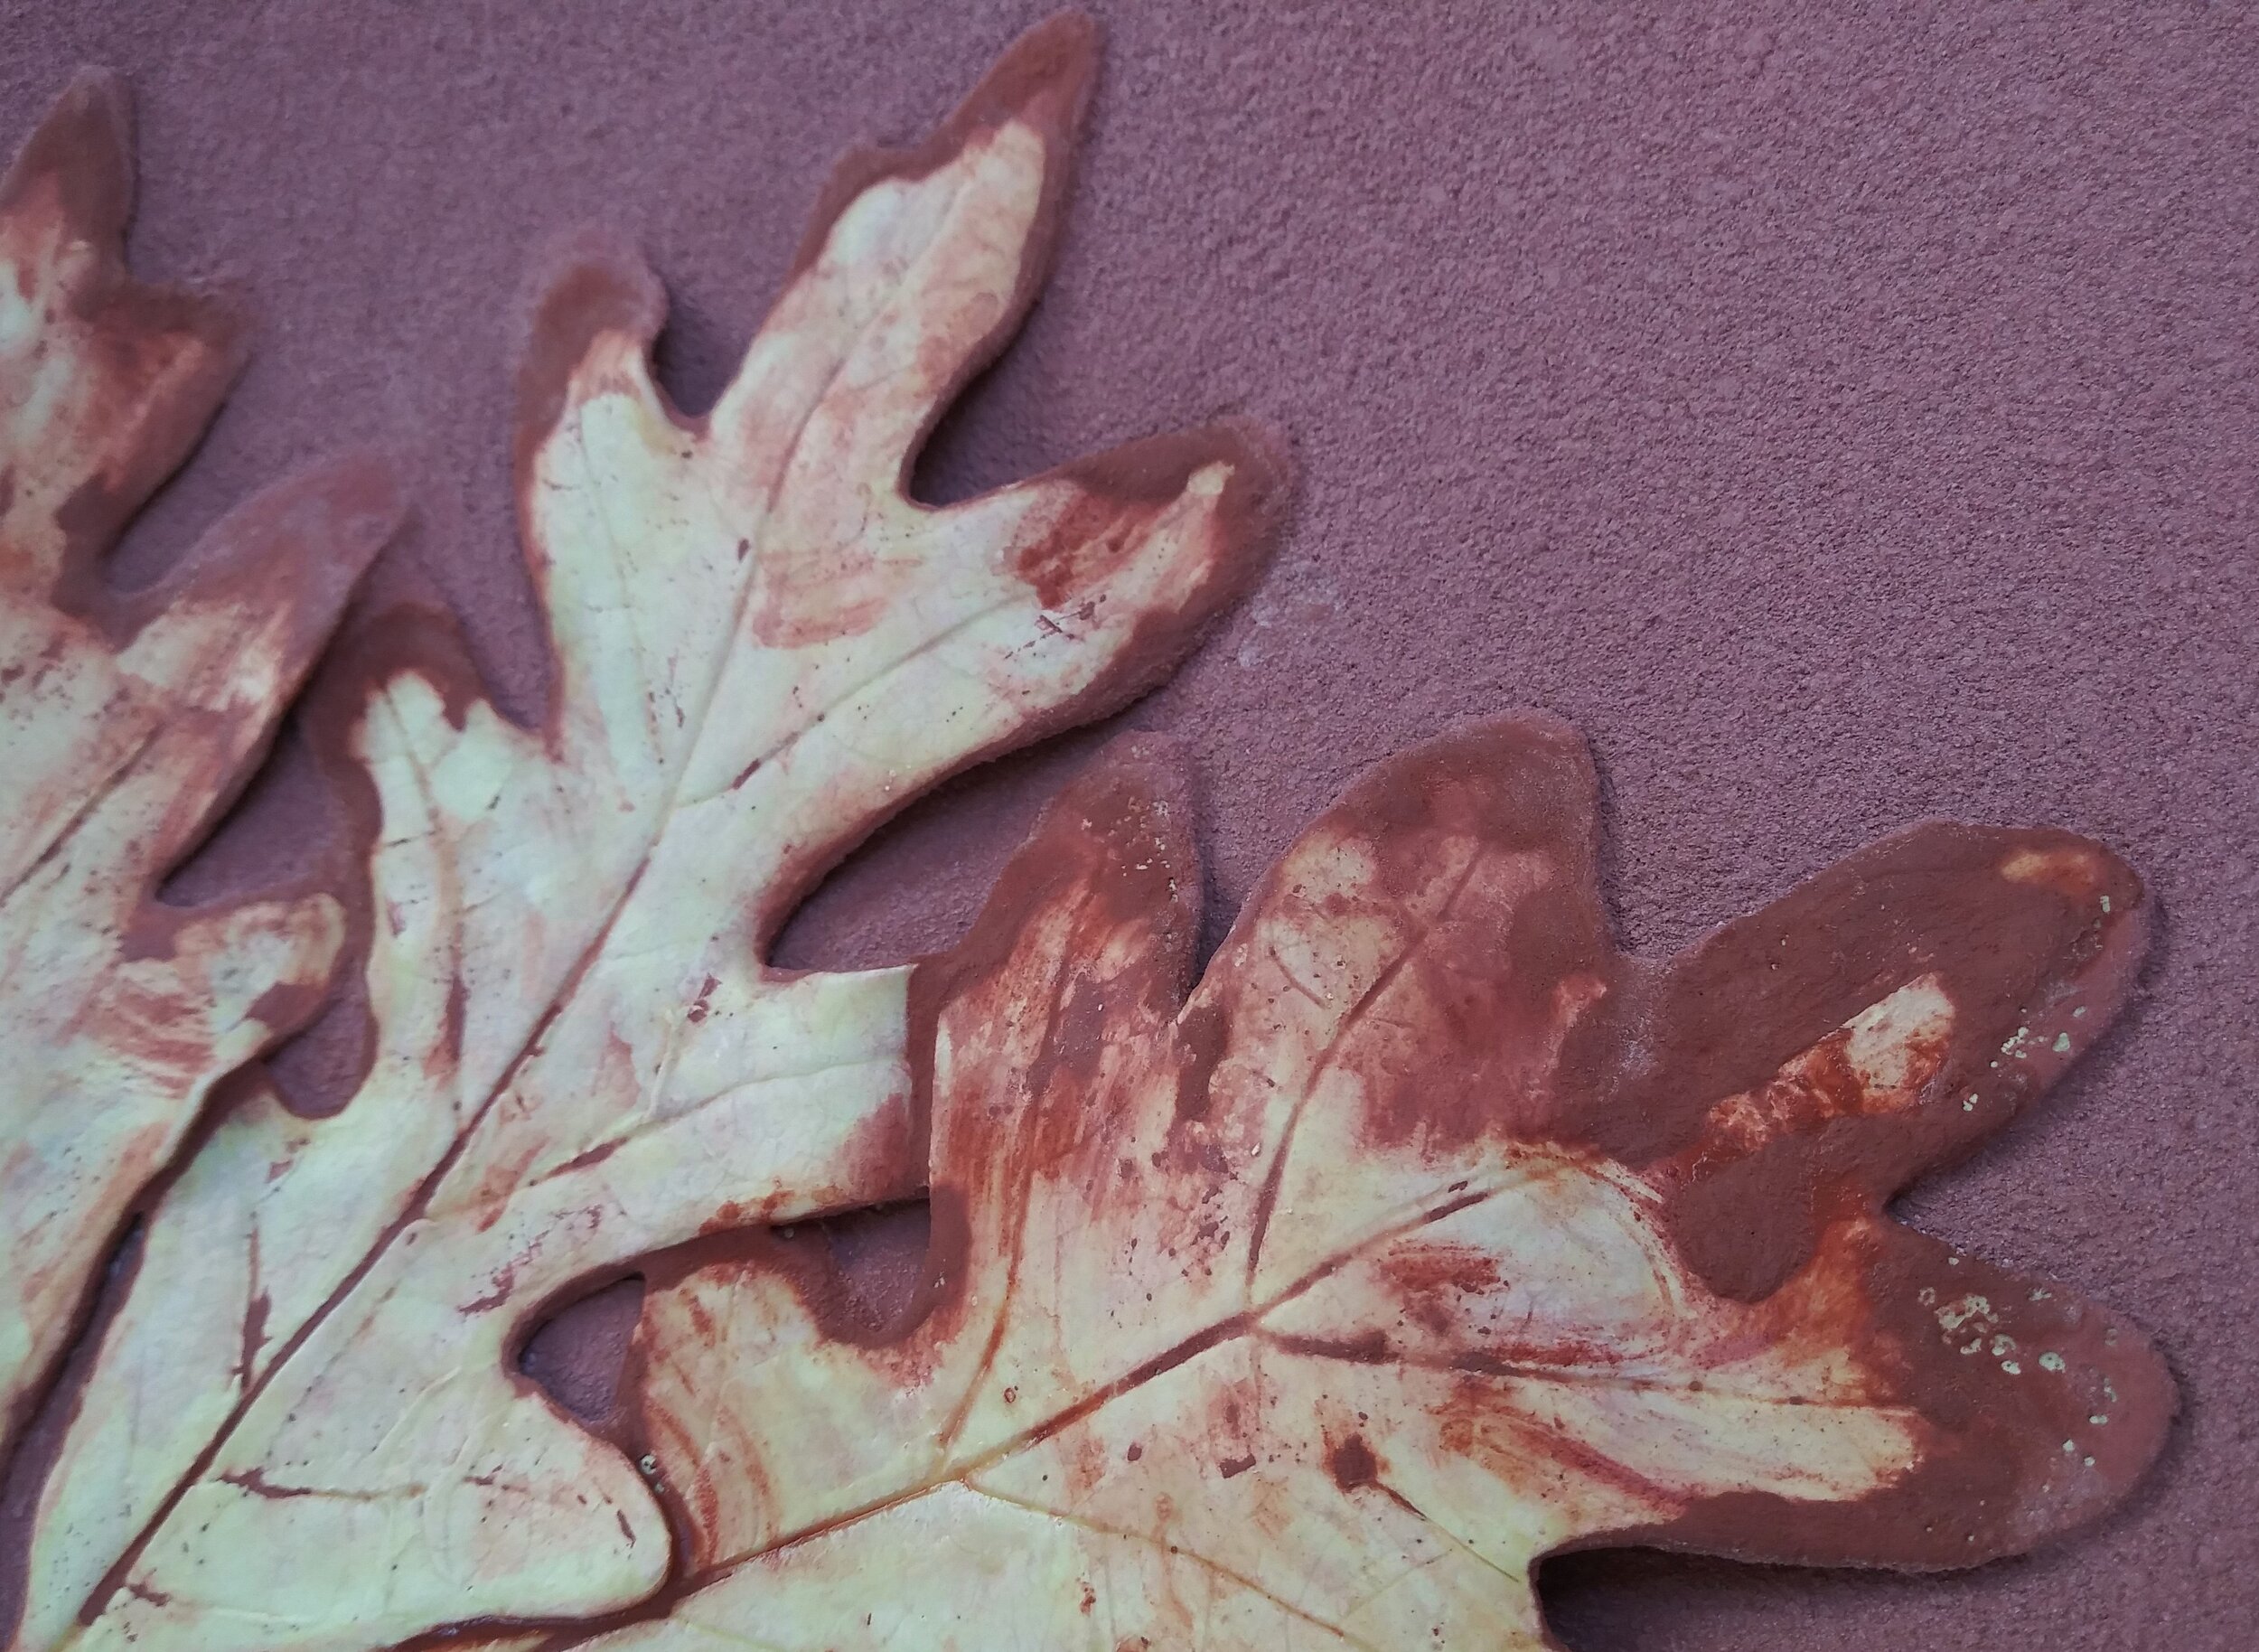
Below are some images of my multi-step glaze process:
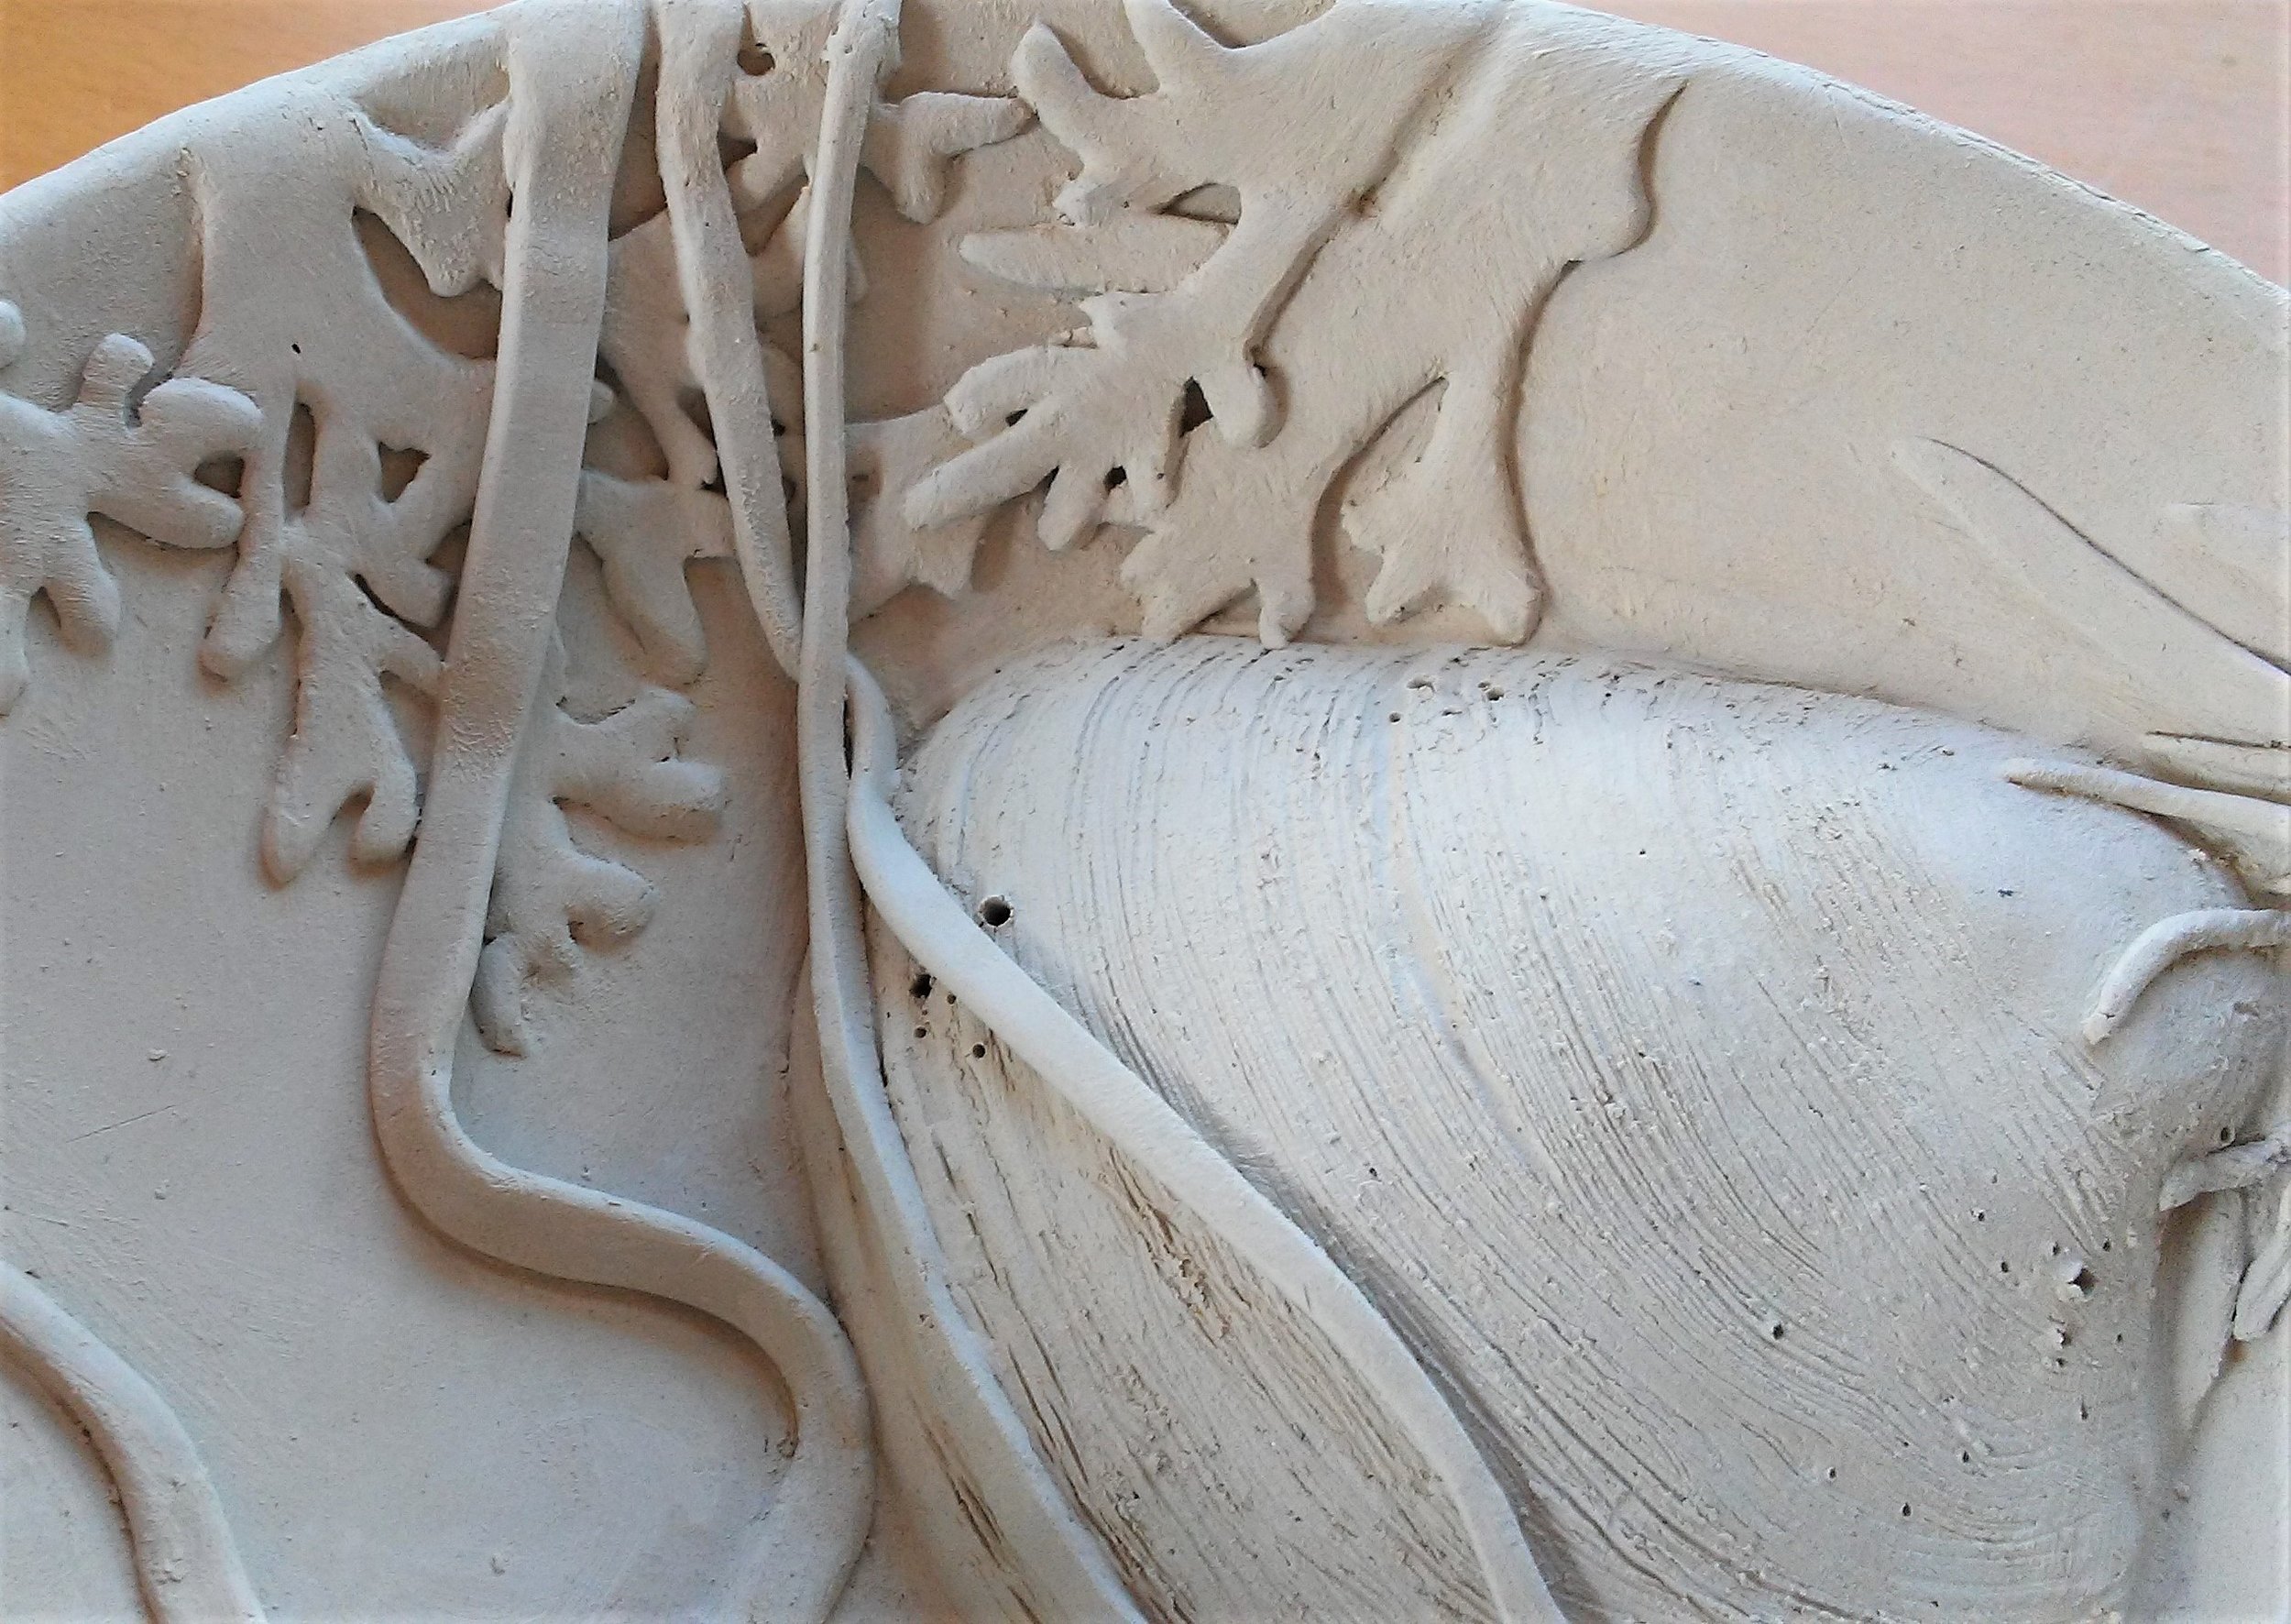
The photos with “pinkish” ground show a brush-applied red base glaze, with the leaf forms rendered in a mahogany brown wash — these will get an application of green-yellow underglaze, followed by a careful coating of wax. Next comes a sprayed application of the deep top glaze. The two images with the darker background demonstrate how meticulously and painstakingly the sprayed glaze must be removed before firing. (Will post final images ASAP!)

Feel free to email me with comments or questions!